Bird Photography Tips for beginners
Embarking for my first time on a bird photography adventure in the Danube Delta with my Sony A7iii and the Sony 200-600mm F5.6–6.3 G OSS full-frame telephoto zoom G Lens with Optical SteadyShot, which I rented from a local gear store specially for this trip.
To ensure the best possible experience, I needed to address three key questions: where I get the best chance to capture as many birds in my photos, when to do it, and what gear is necessary to enhance the experience.
Where to shoot bird photography?
My country is home to a bird haven called the Danube Delta, a sanctuary for a wide variety of bird species. But even if you can't make it to this special place, you can still enjoy watching different birds and wildlife in the peaceful surroundings of nearby lakes, lush forests and urban parks in your own city.
The Danube Delta, a UNESCO World Heritage site and a biosphere reserve, is a labyrinth of water and land, home to an astonishing array of bird species. It's a paradise for birdwatchers and photographers alike, offering a unique opportunity to capture the beauty of avian life in its natural habitat. For those venturing into this birding haven for the first time, especially with the impressive Sony 200-600mm lens, the experience promises to be nothing short of magical.
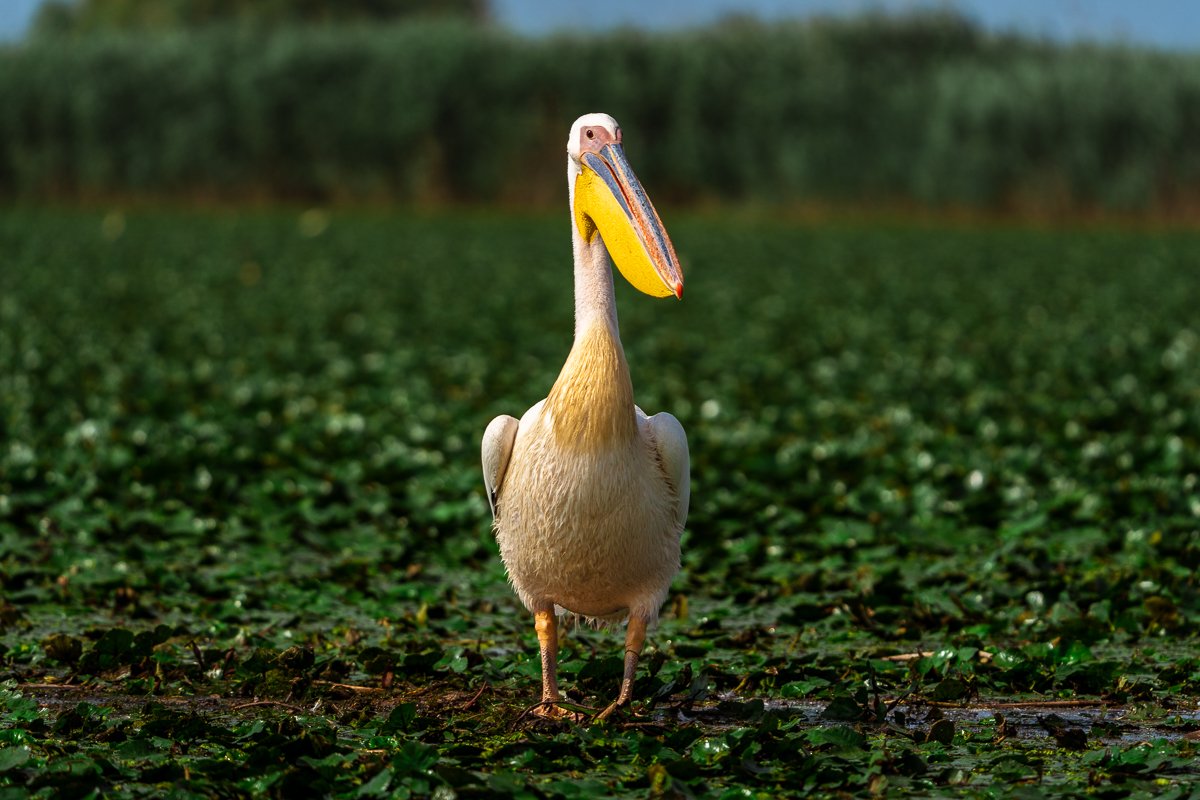
The Danube Delta serves as a perfect backdrop for this photographic journey. With over 300 species of birds, including the rare pelicans, herons, storks, and cormorants, the delta is a bustling hub of biodiversity.
when should you try photograph birds?
The best times for bird photography are early morning or late afternoon, when the light is softer and birds are most active. This lighting enhances colors and reduces harsh shadows, offering the chance to capture stunning images. Bearing this in mind, I arranged two trips to the Danube's canals: one at sunset and another all-day excursion beginning early in the morning. By doing so, I was confident I would have the best opportunity to observe a variety of birds and witness some activity, not merely them resting in the shadows.
what gear to use for bird photography?
The choice was straightforward for me. I already owned the suitable body camera, the Sony A7iii. You can find how to choose a beginers camera body that suits your needs on this article on the blog.
All I required was a telephoto lens, so I opted for the Sony 200-600mm lens.This 200-600 mm telephoto lens is a marvel for wildlife photography, offering a range that can bring the most distant subjects into clear view. Its fast autofocus and sharpness are praised by many, making it an ideal choice for capturing the fleeting moments of bird life. For those embarking on this adventure, here are some tips to make the most of your bird photography experience:
-
Familiarize yourself with the big telephoto 600mm lens. Sony 200-600mm F5.6-6.3 features a focus limiter switch, Optical SteadyShot features a switch for three modes of stabilization, as detailed below and customizable focus hold buttons, which are crucial for quick adjustments in the field.
-
Use the autofocus continuous (AFC) mode with tracking wide and animal subject detection for sharp, in-focus shots. The fast autofocus of the lens is perfect for capturing birds in motion.
-
Choose the right Optical SteadyShot mode for your scenario. Mode 1 is ideal for reducing camera shake, Mode 2 for panning shots, and Mode 3 for erratic, zigzagging subjects.
-
I suggest shooting in Shutter priority mode with ISO set to auto. For my Sony A7iii I set ISO from min range 100 to maximum range of 6400. For shutter speed I suggest starting from 1/1000 for best chances of capturing sharp moving subjects.
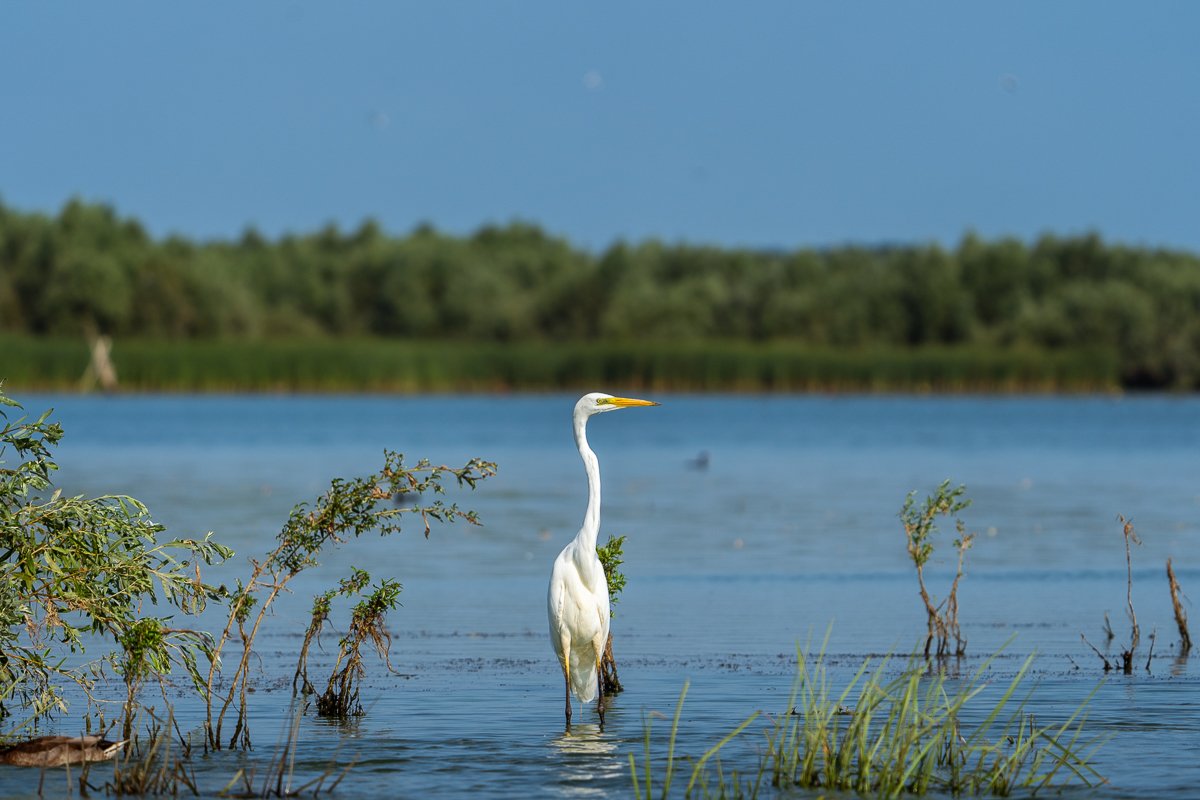
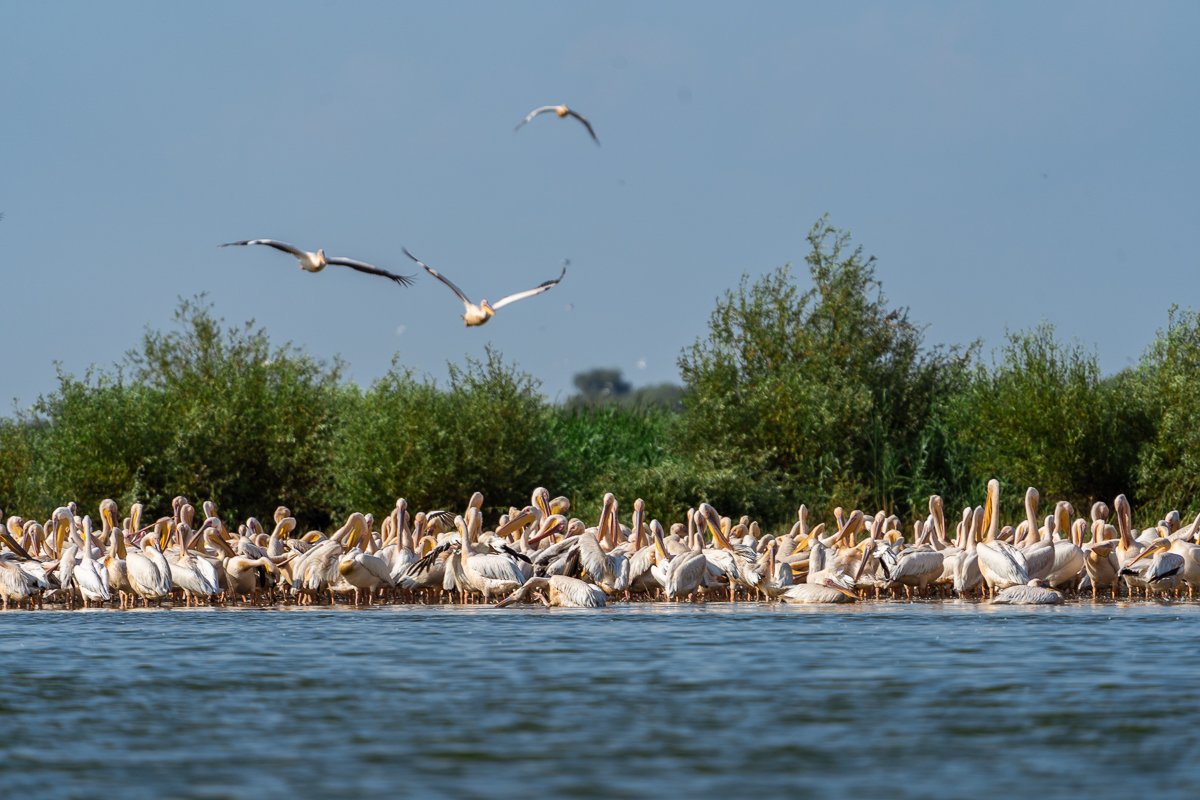
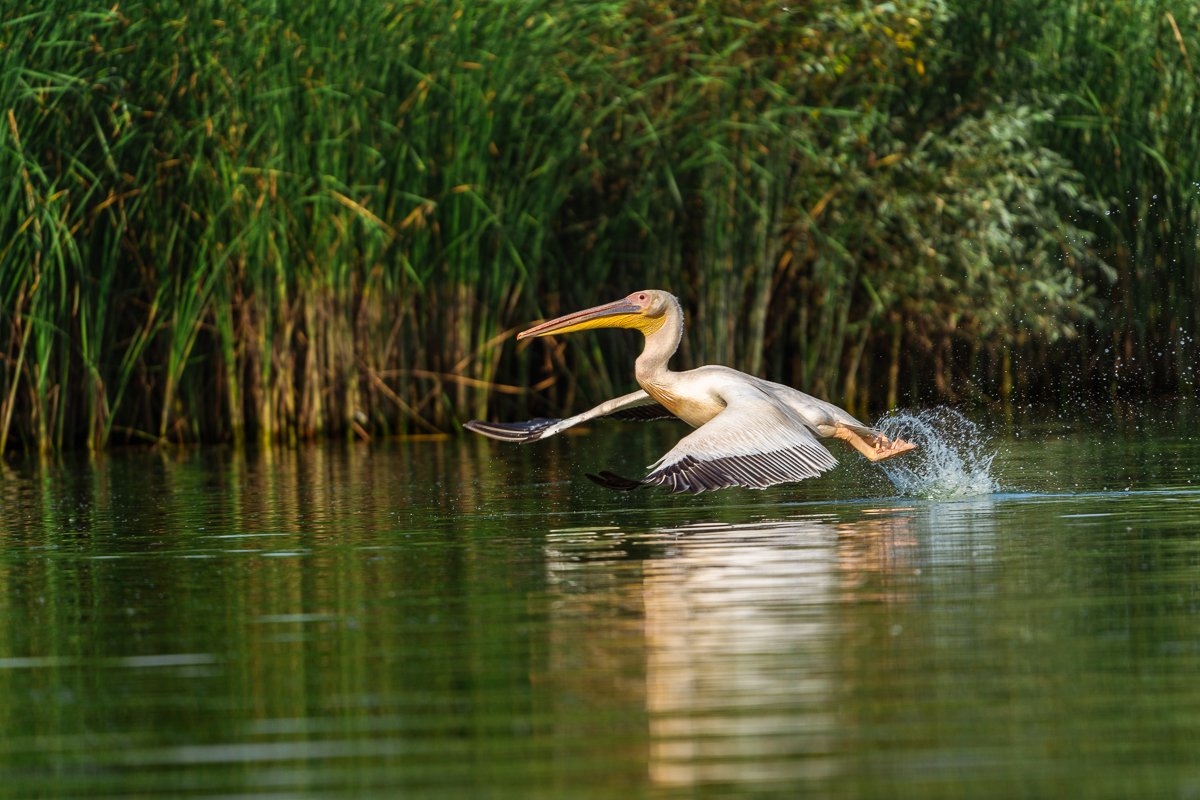
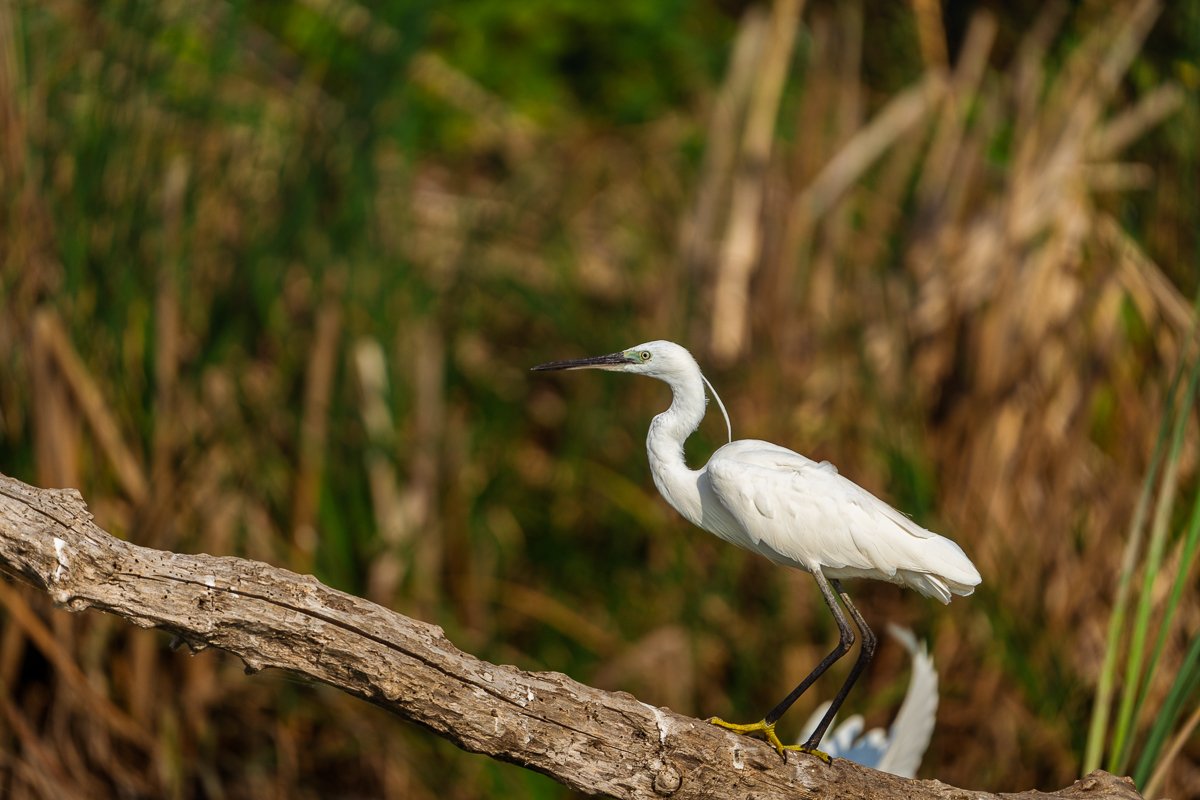
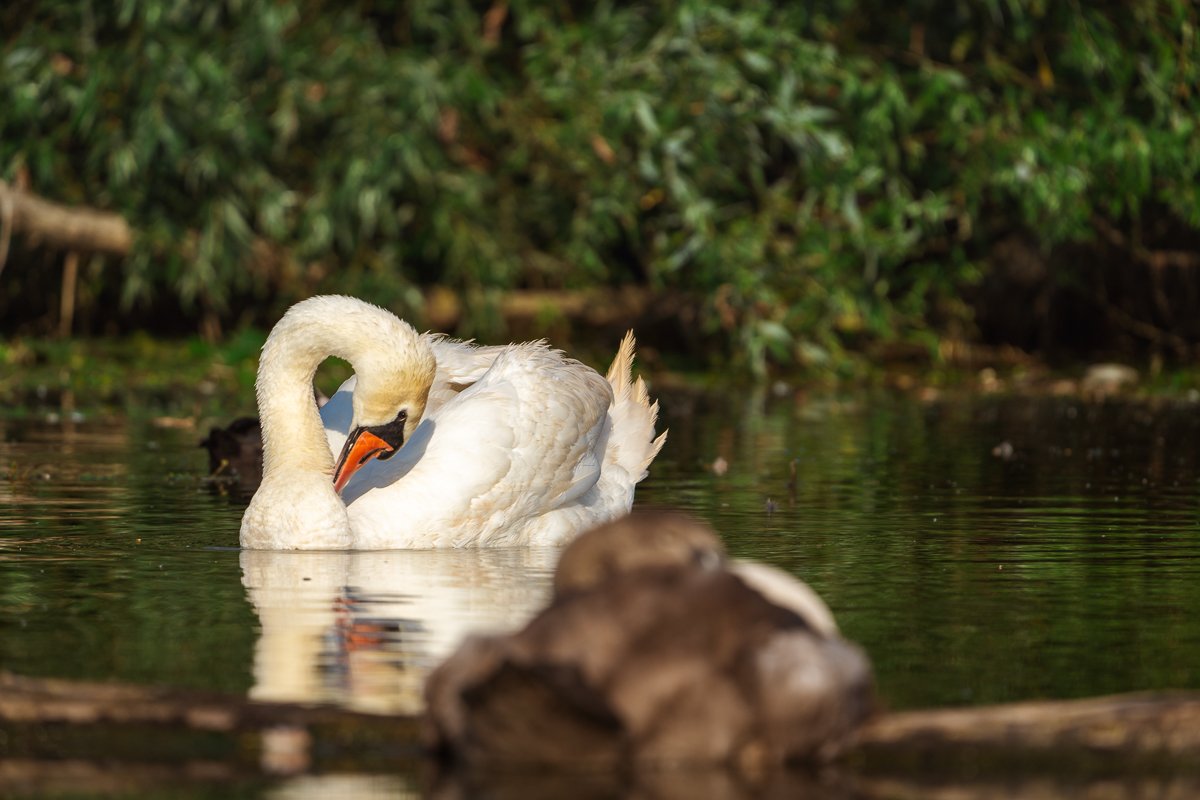
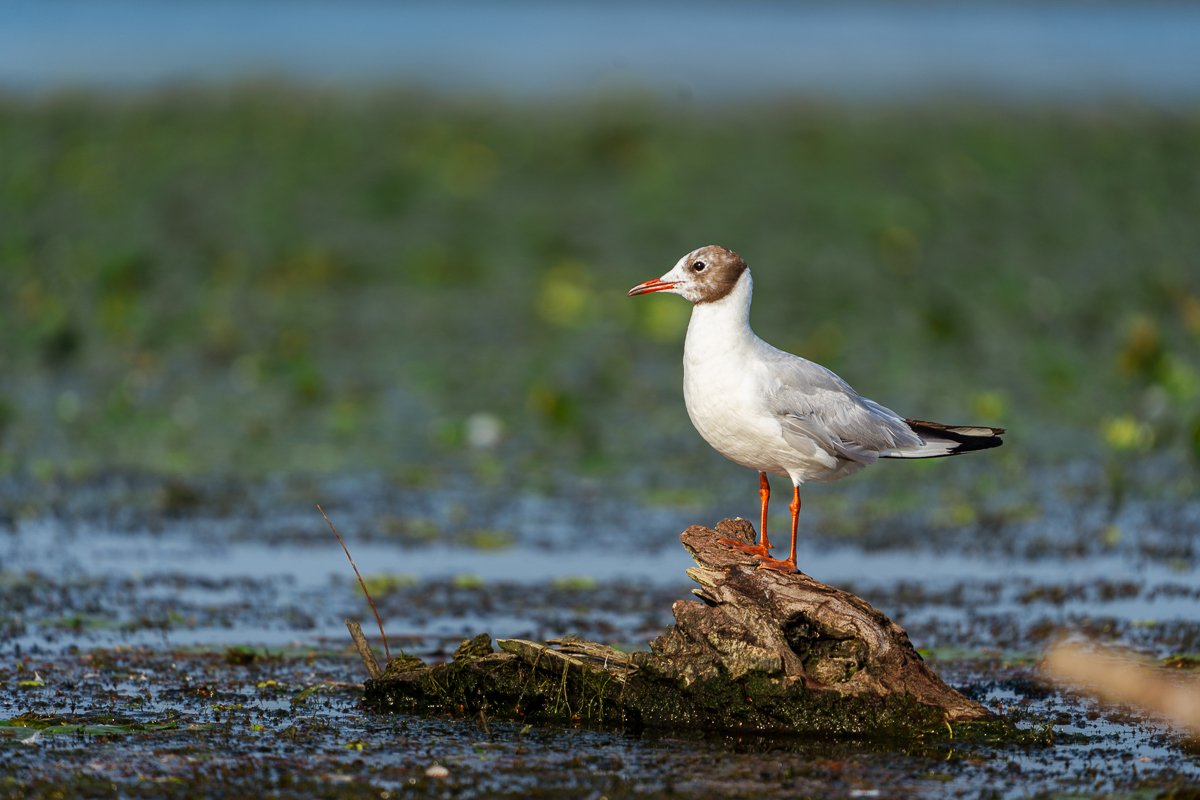
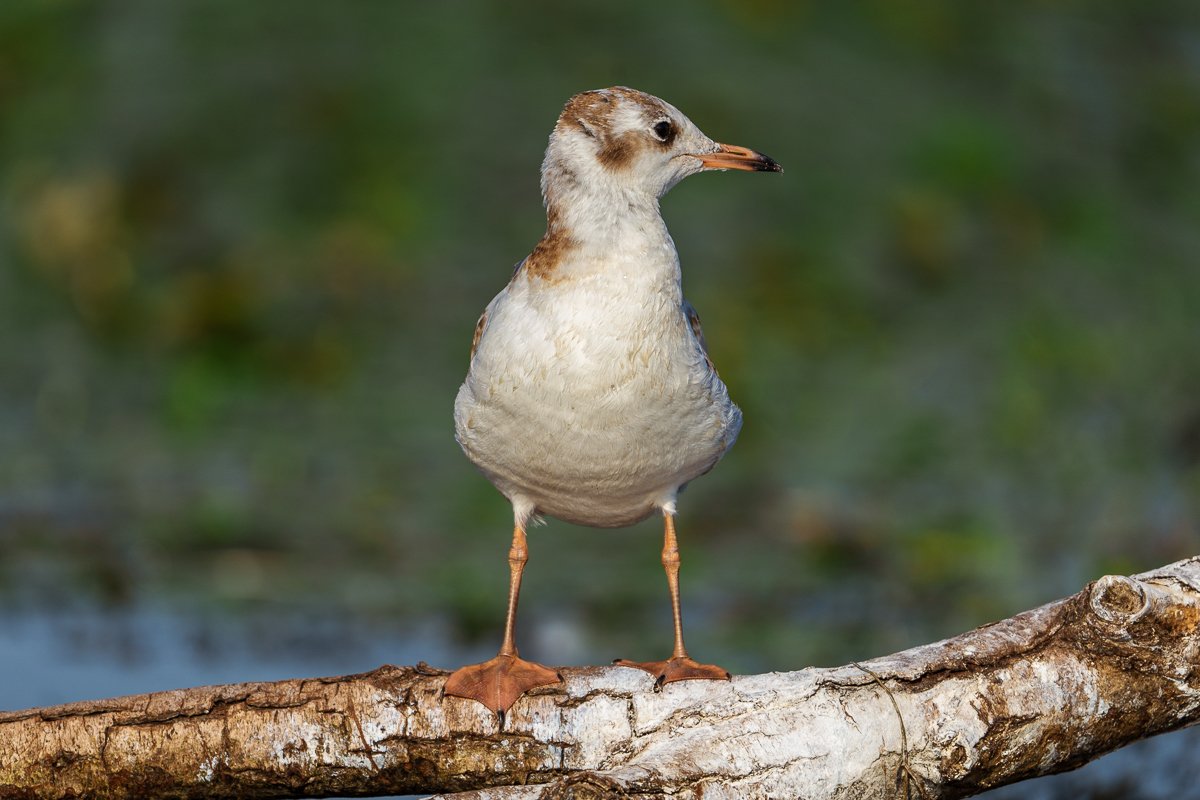
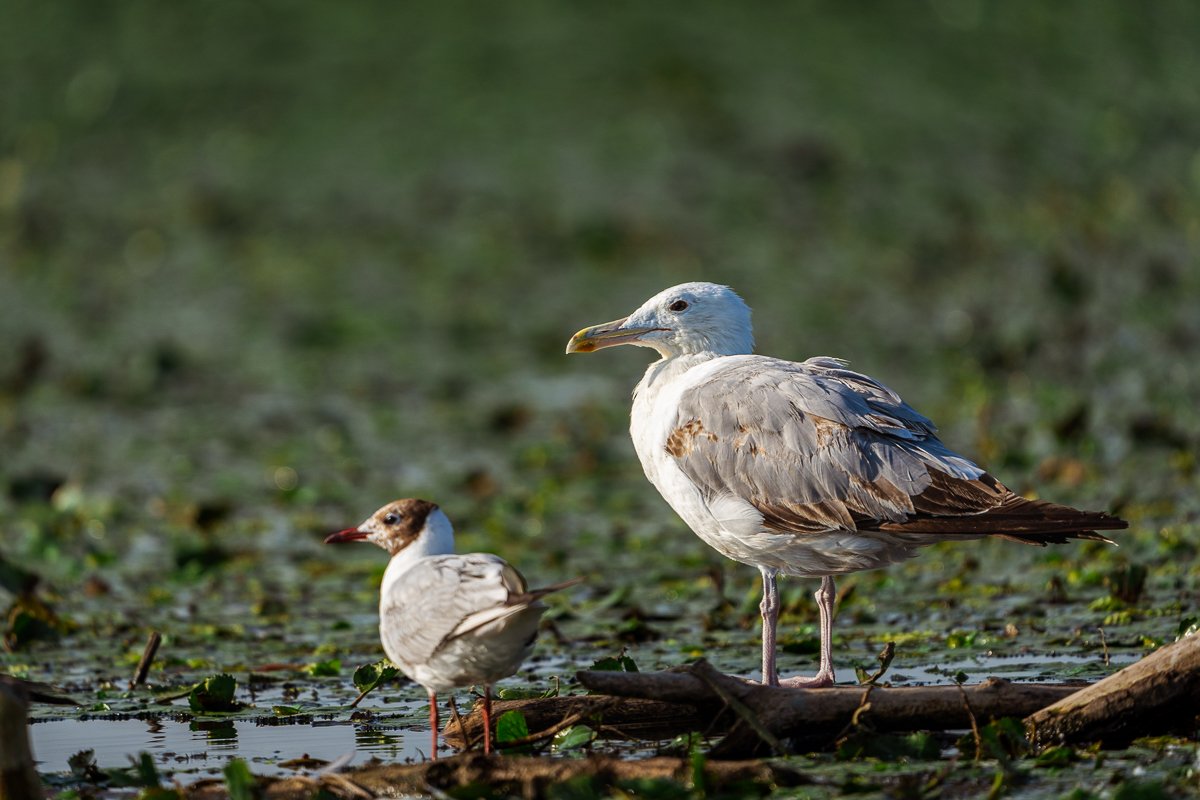
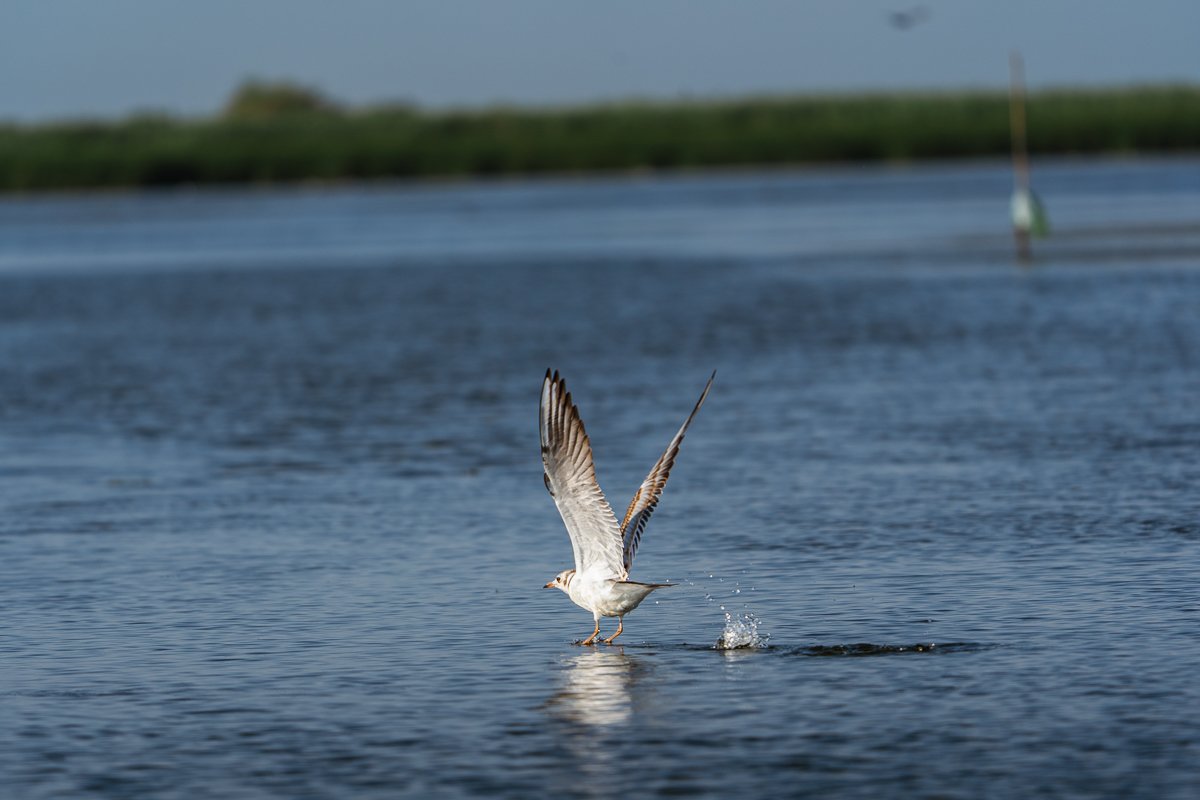
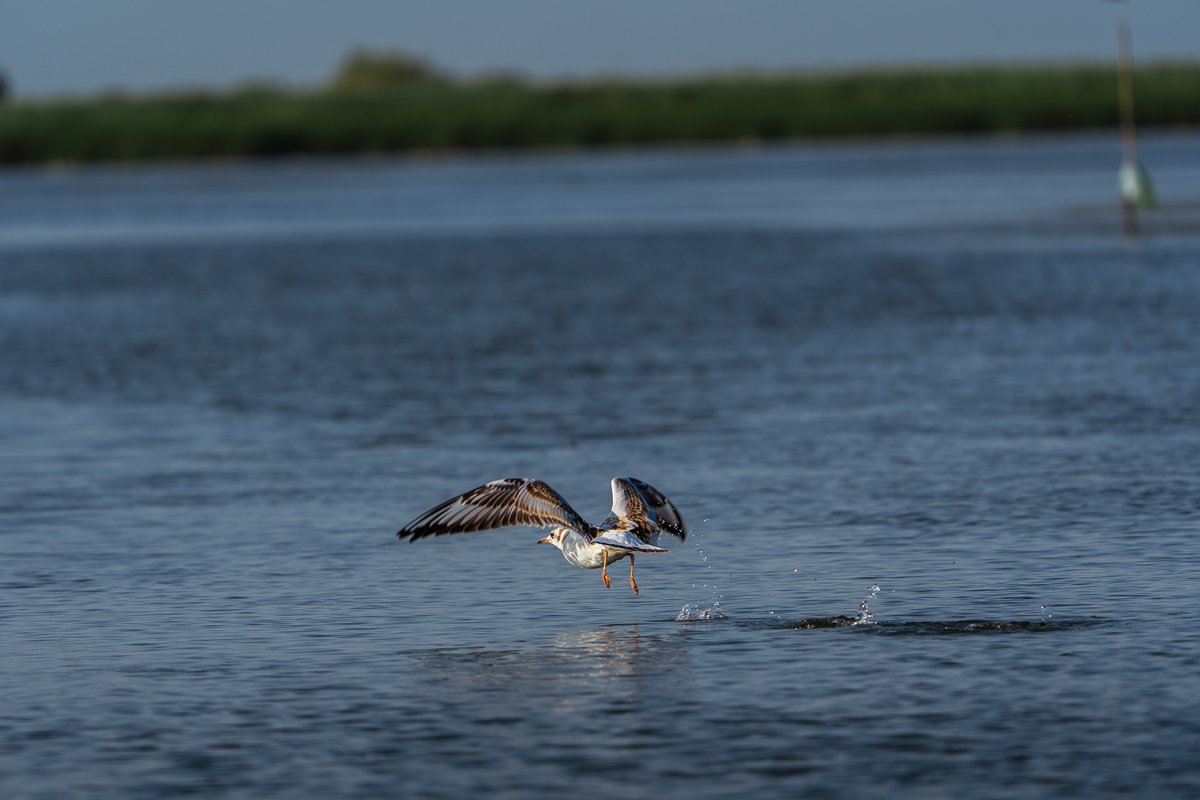
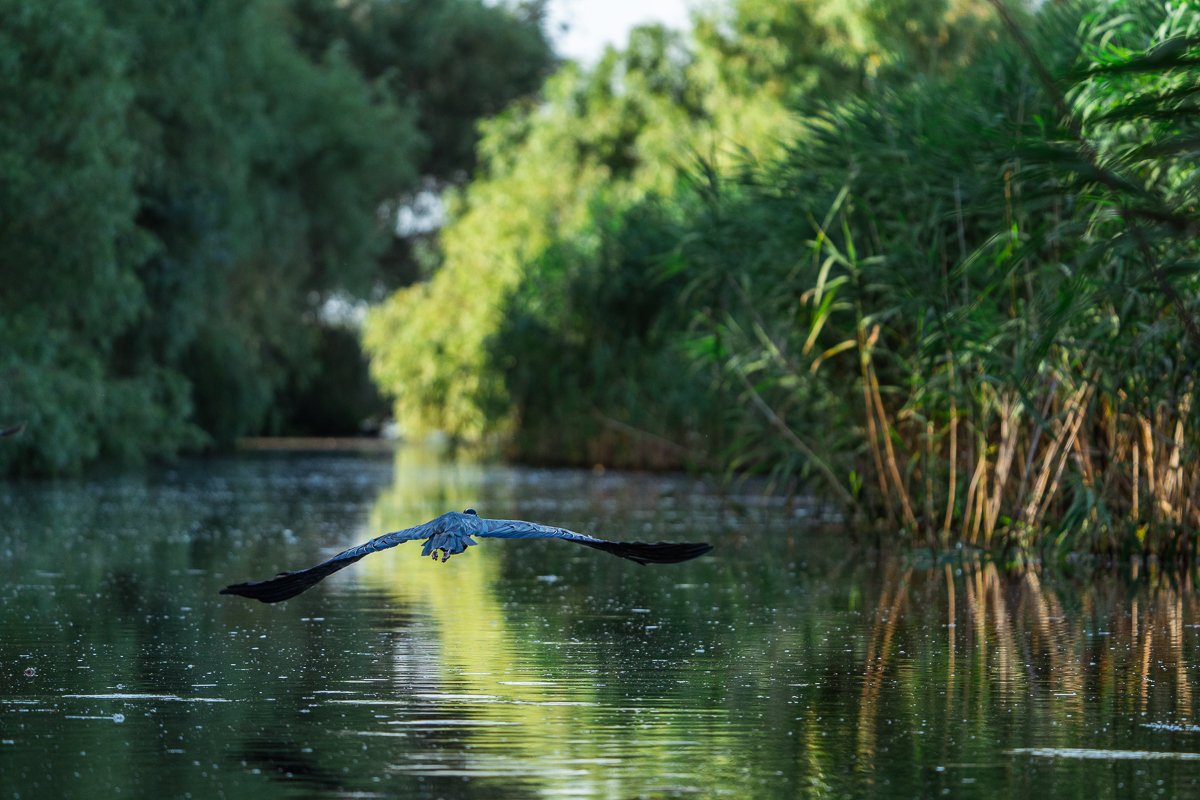
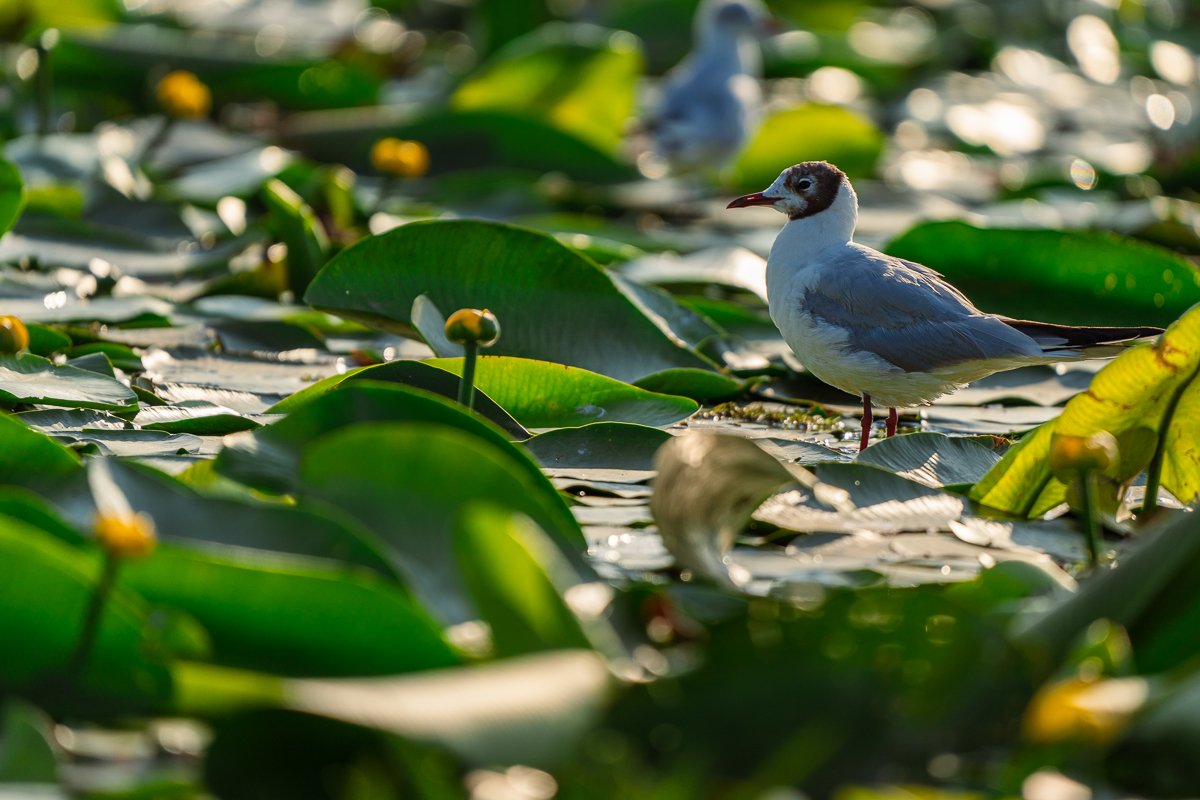
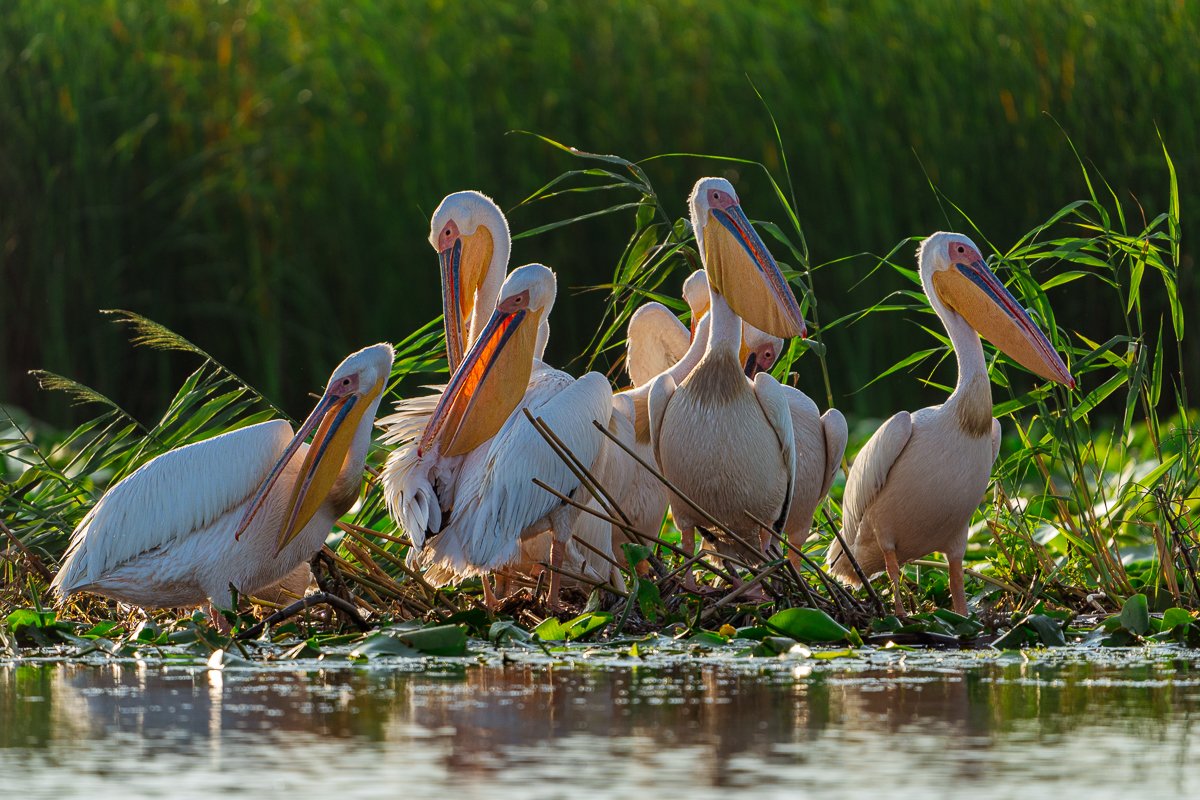
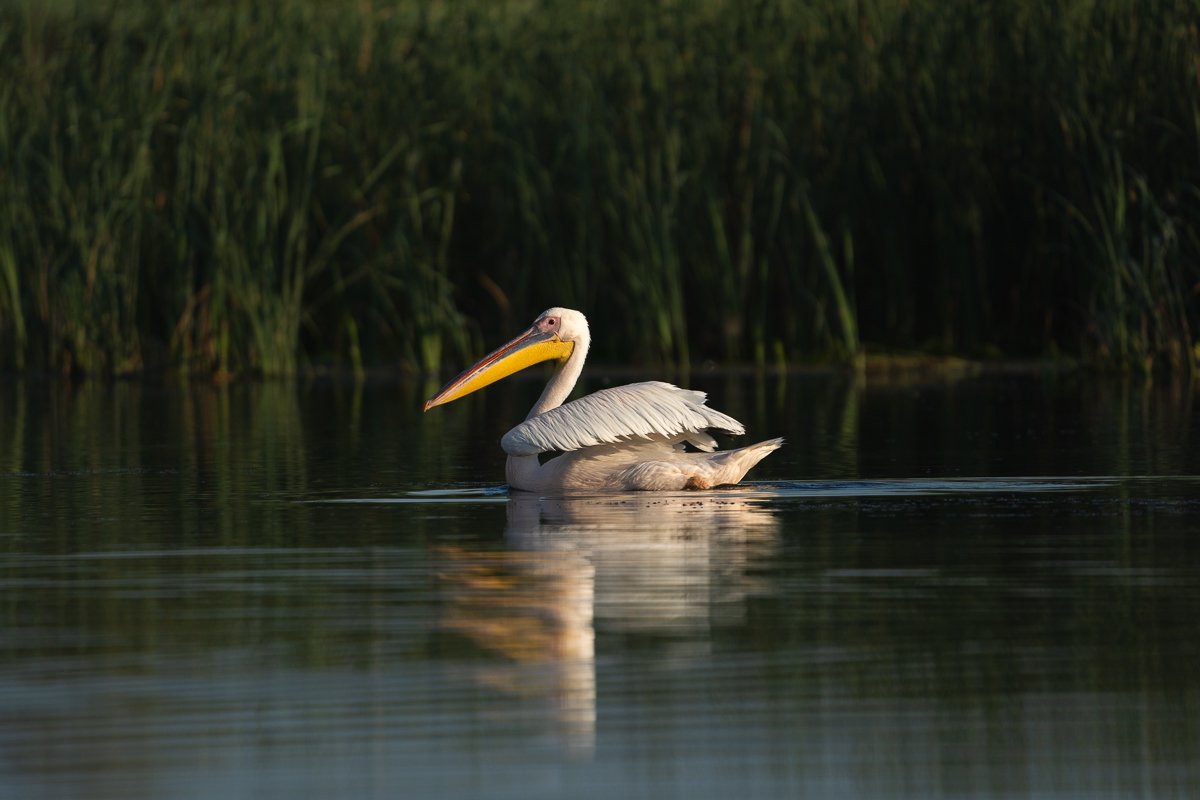
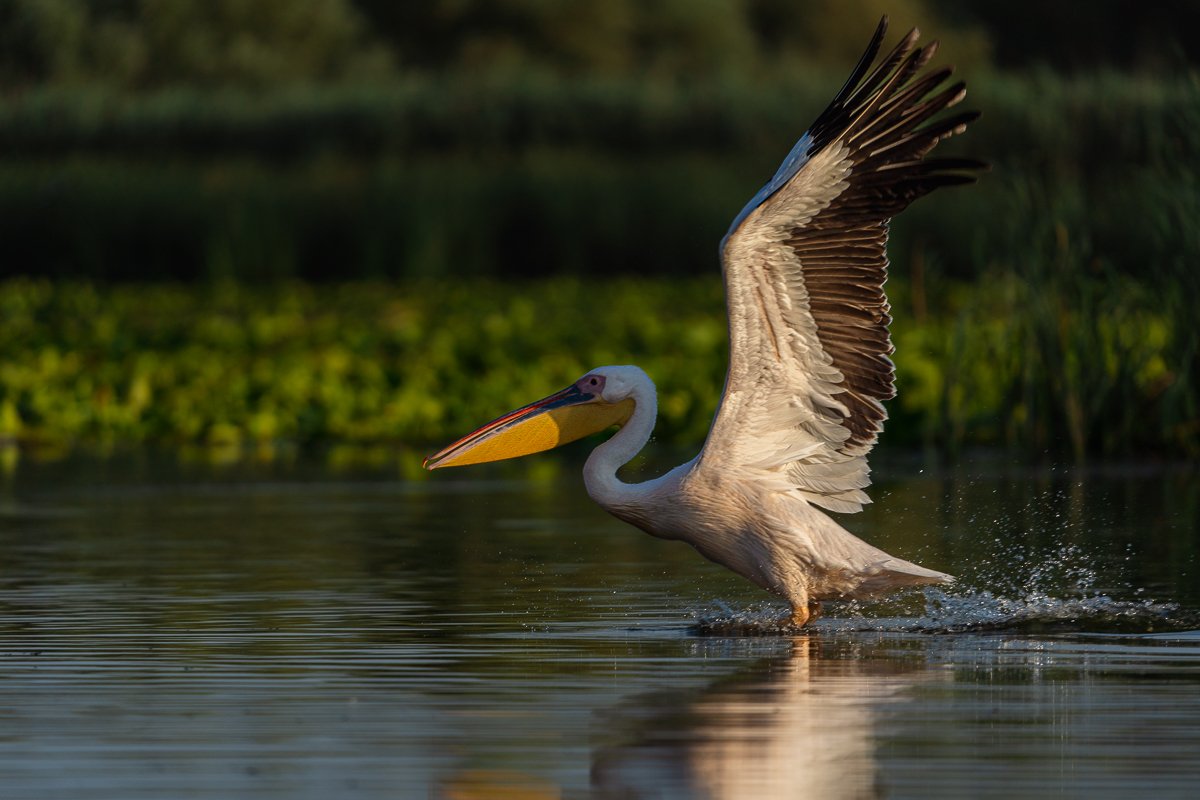
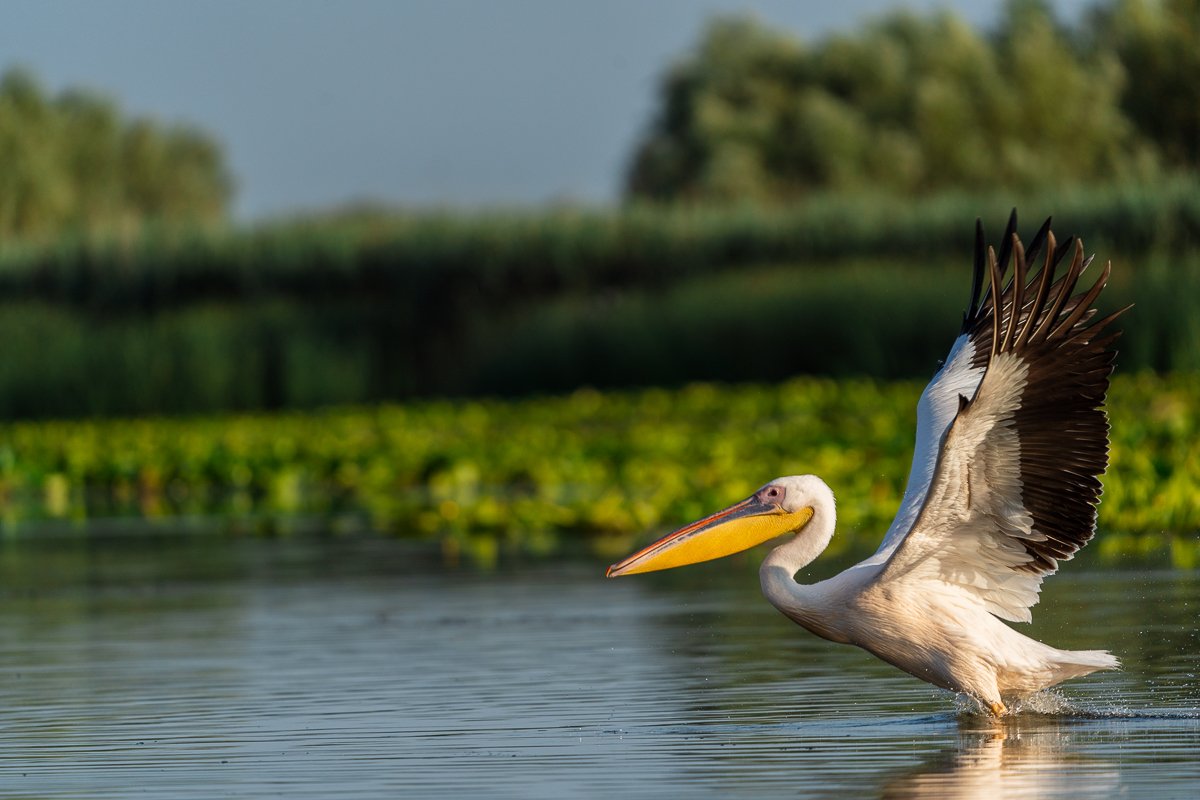
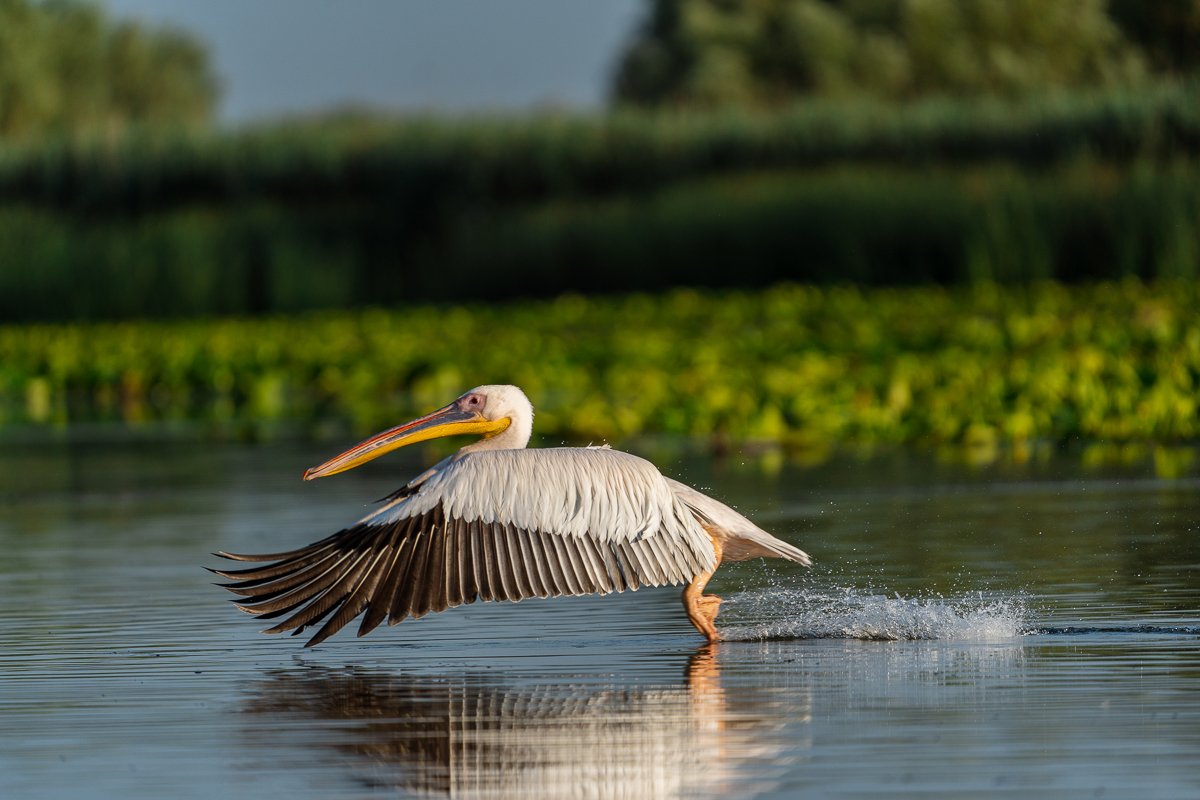
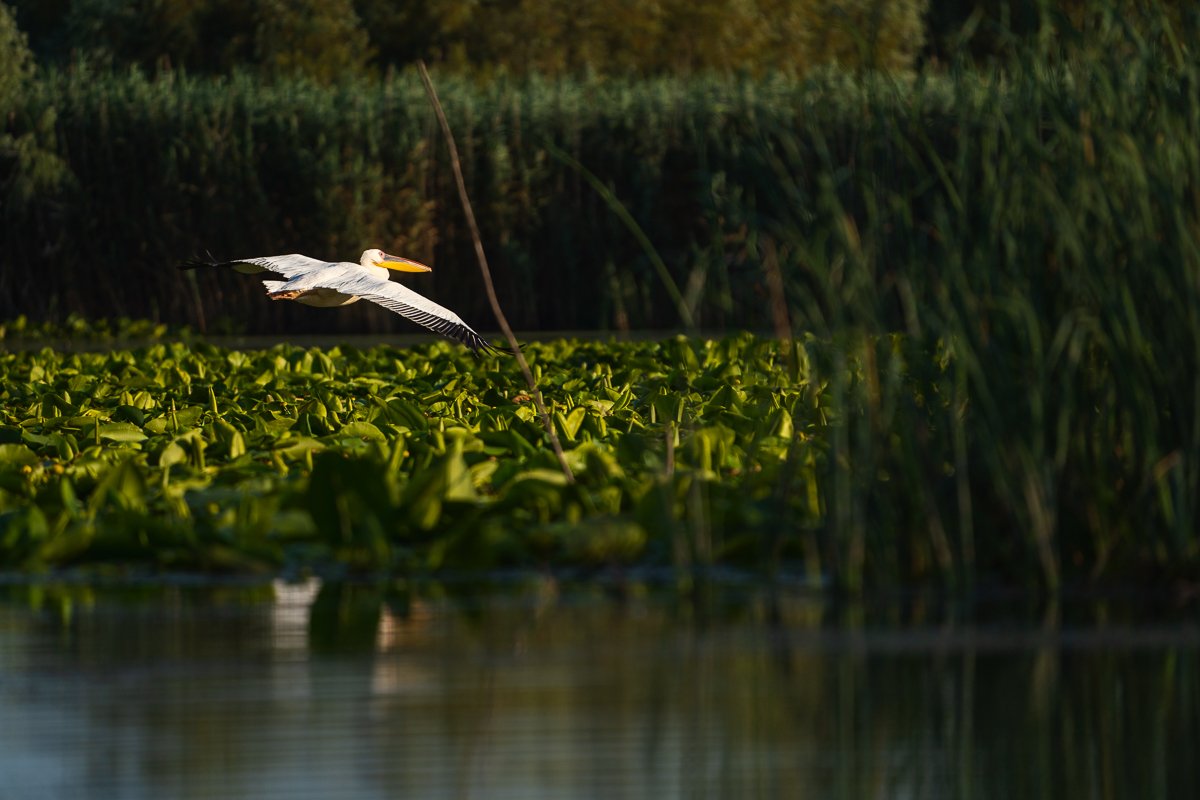
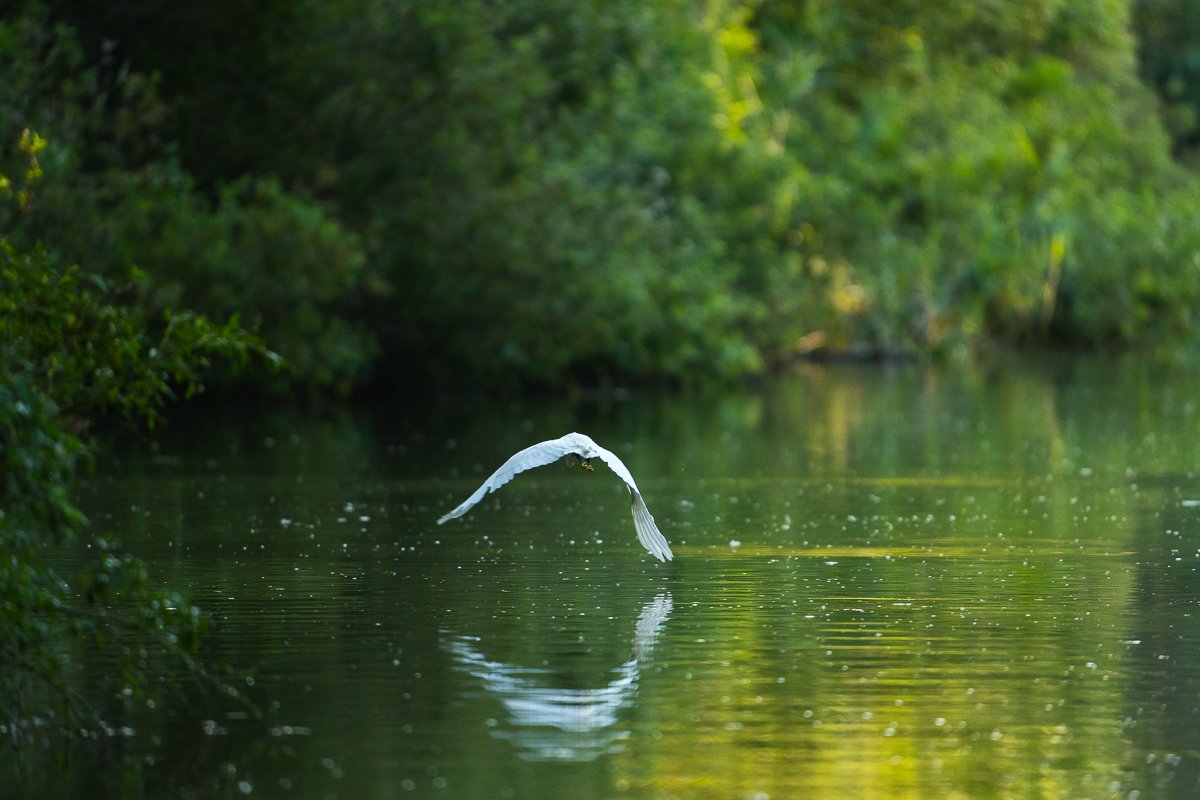
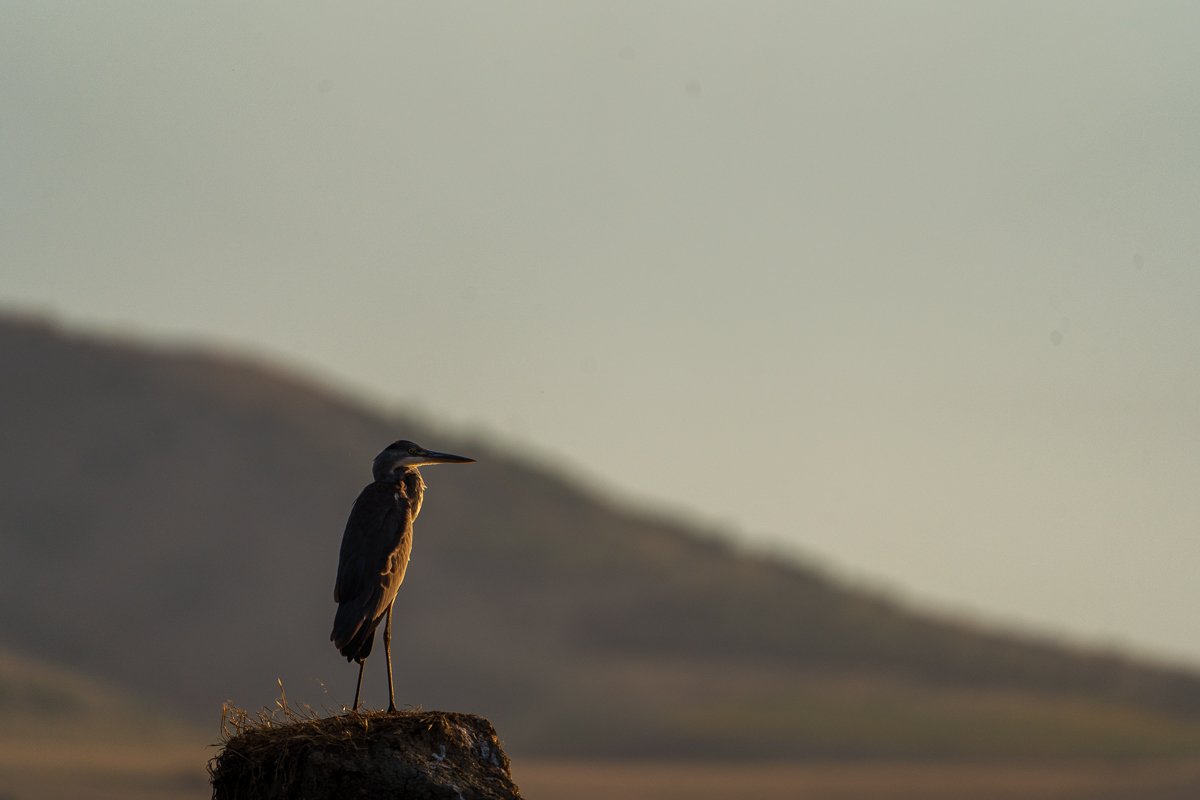
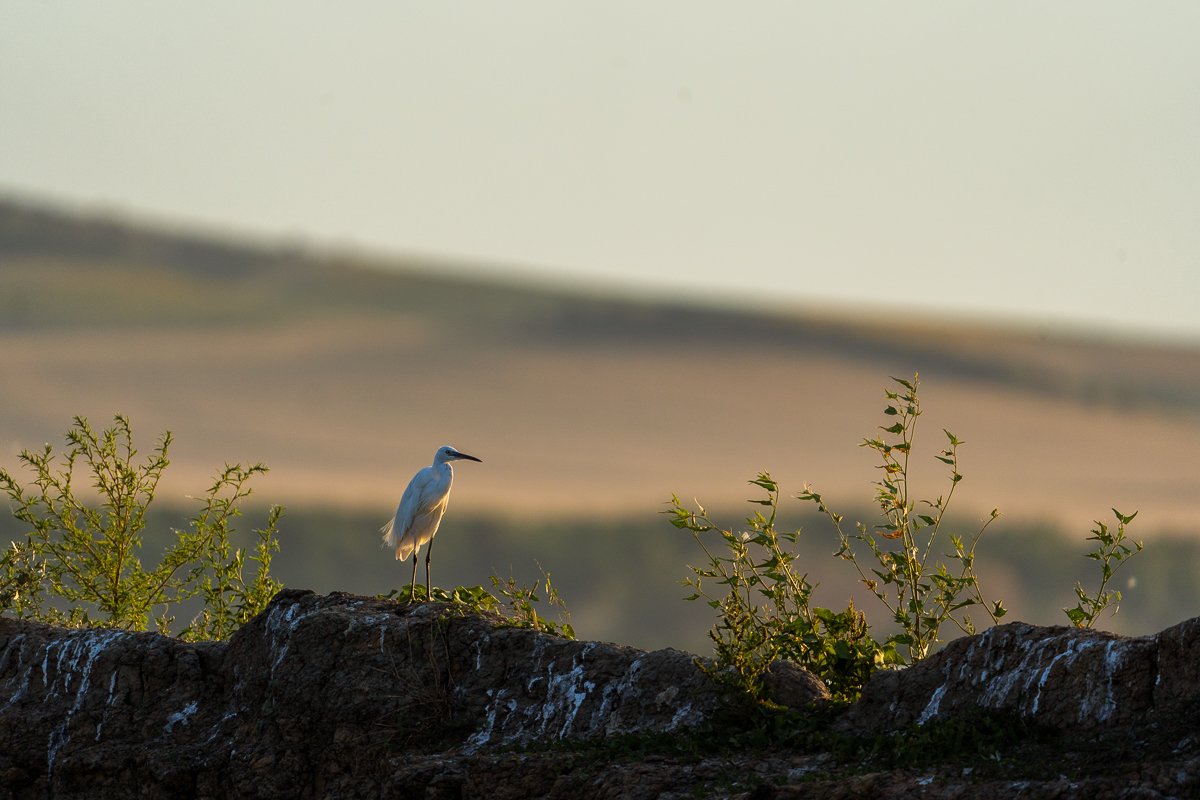
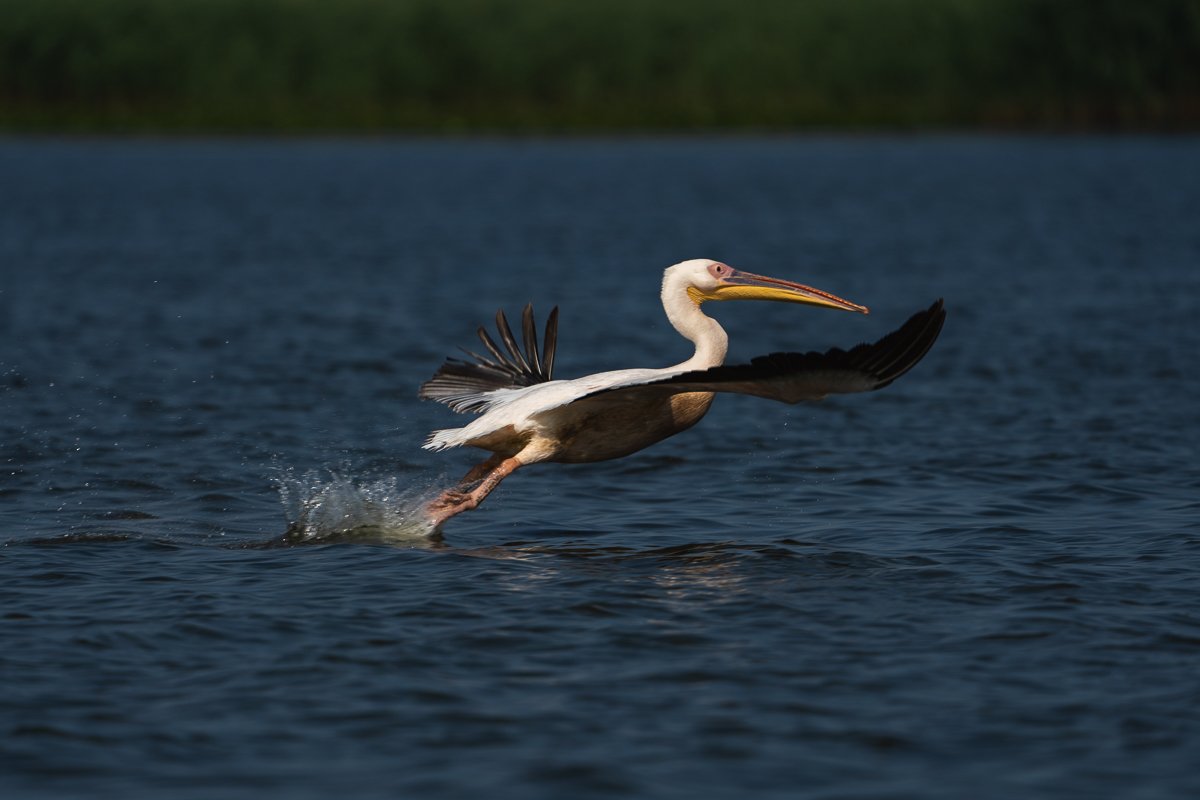
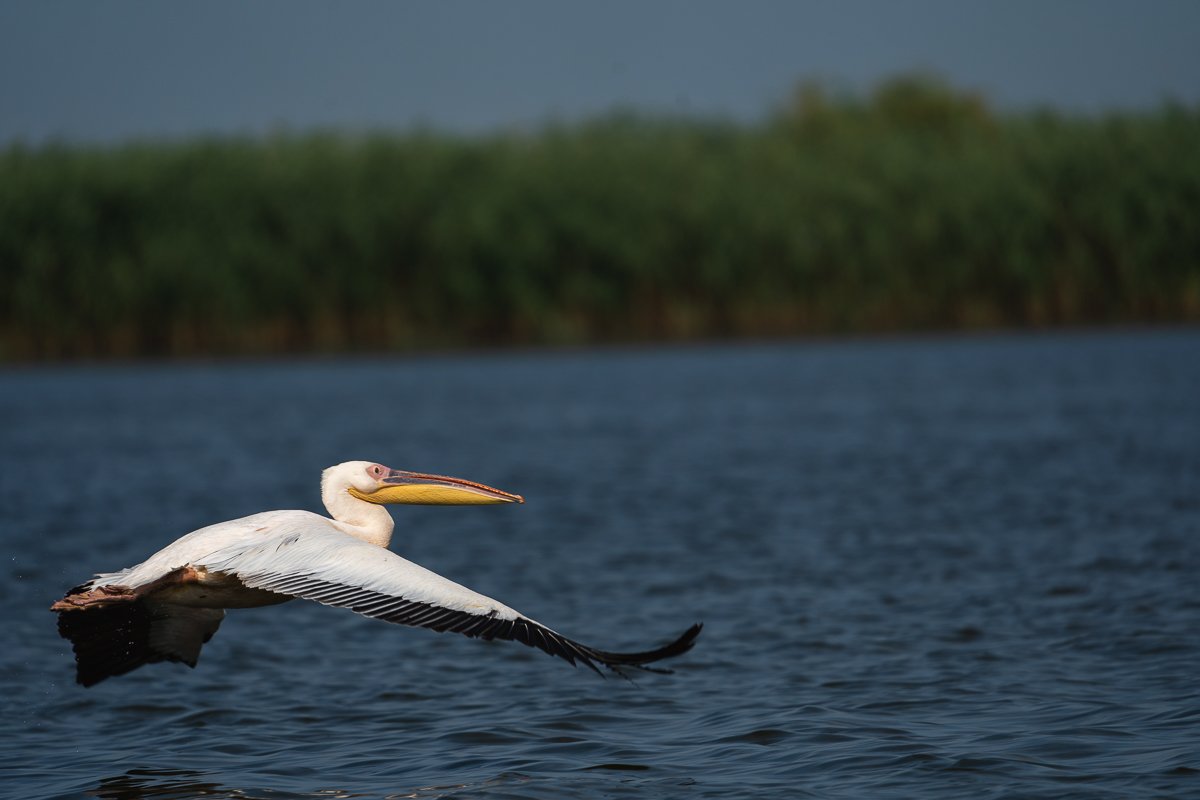
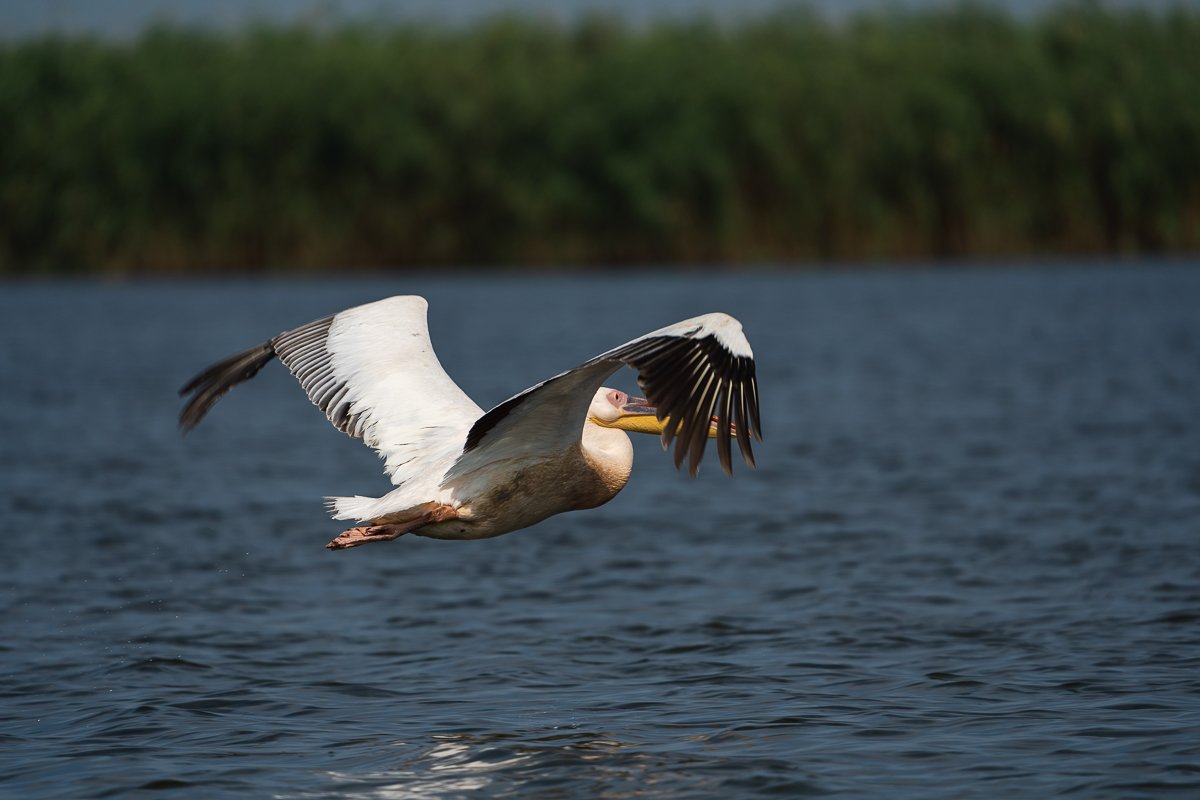
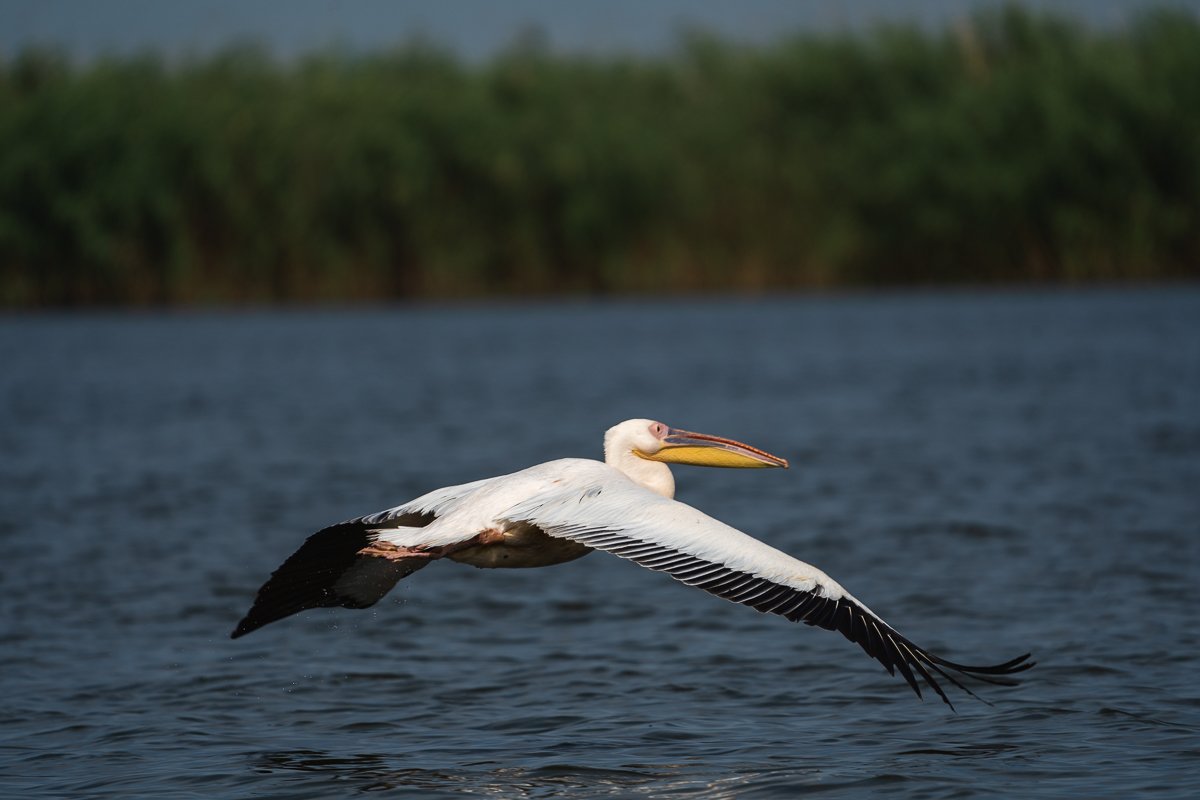
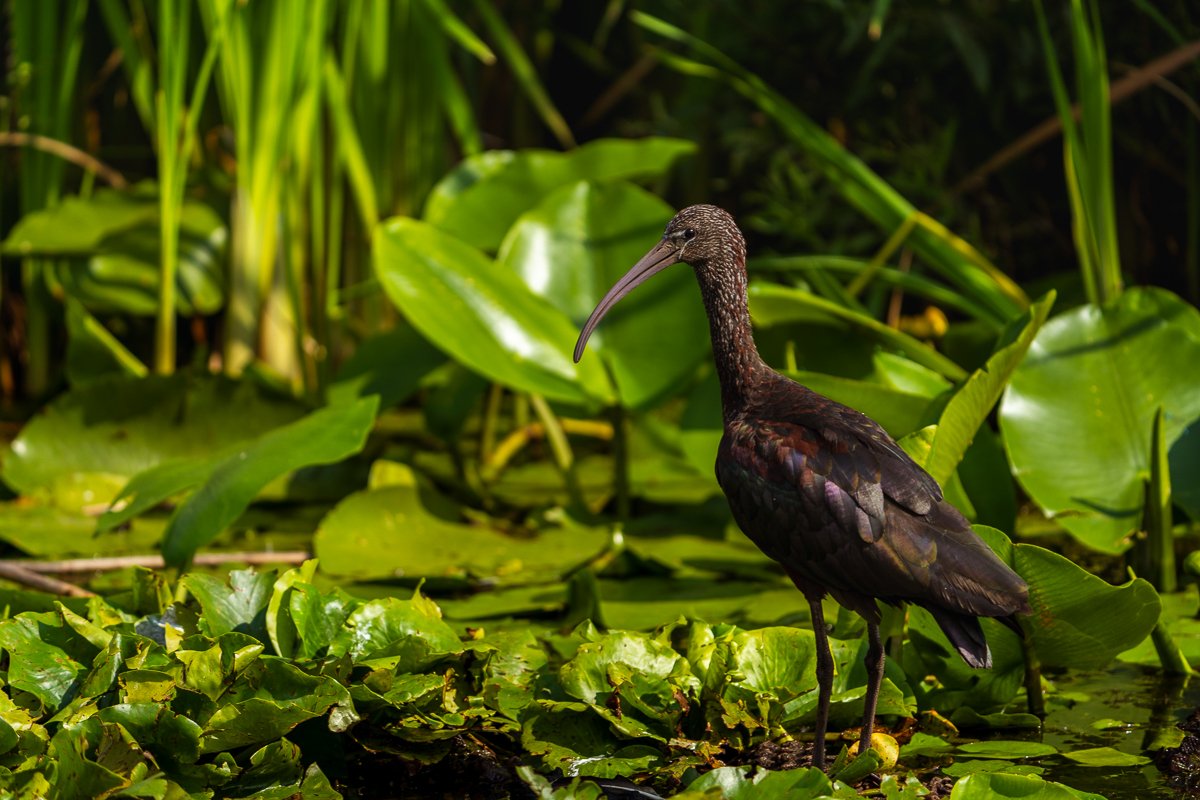
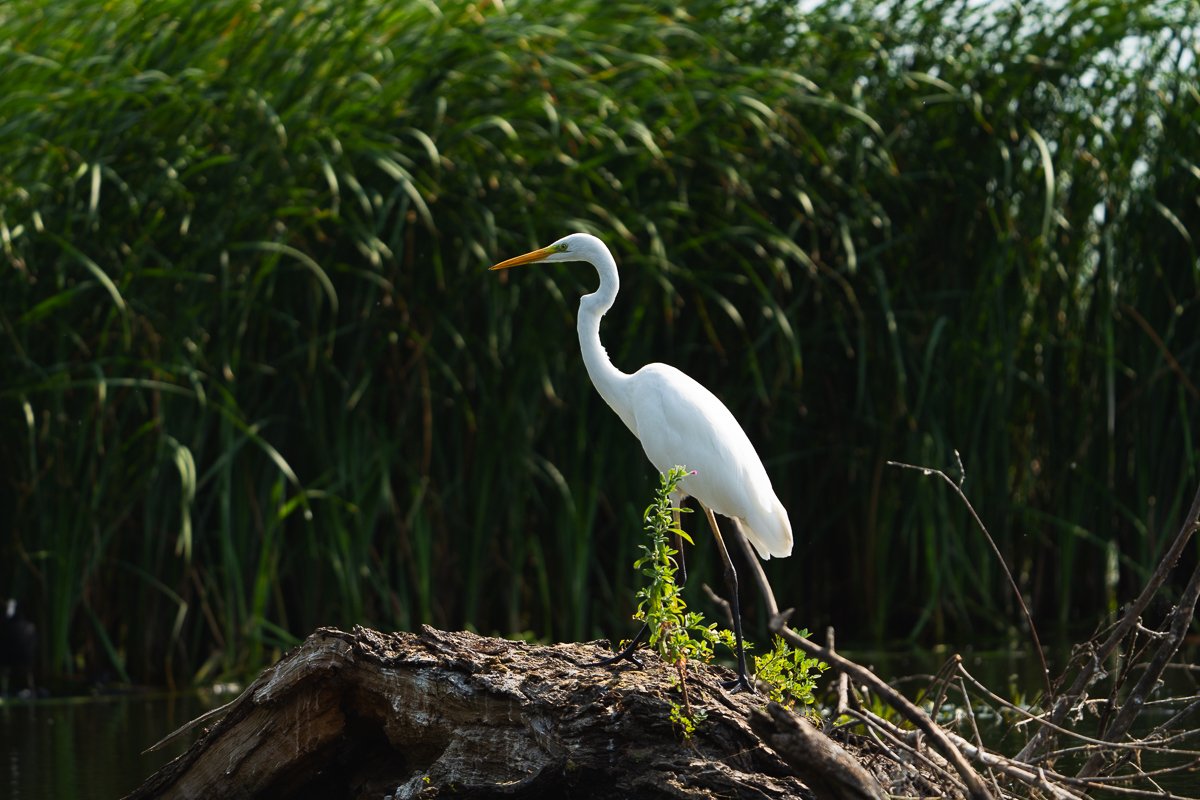
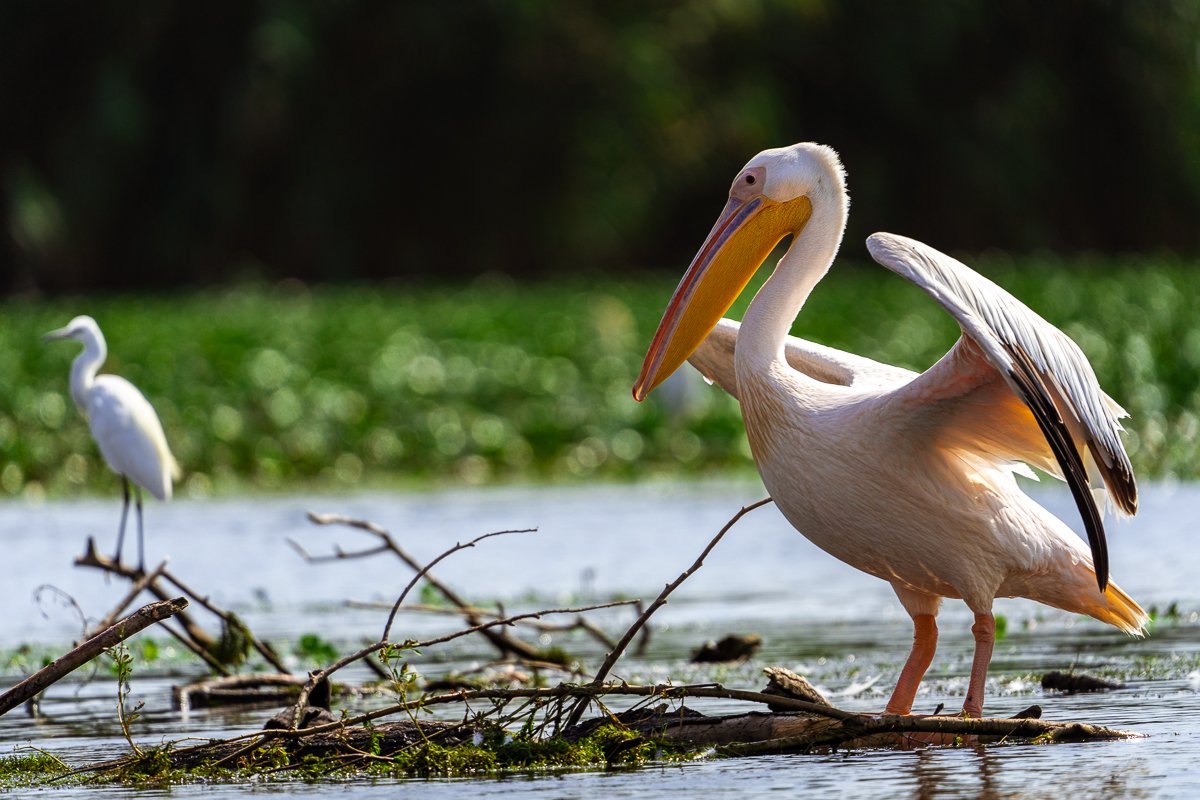
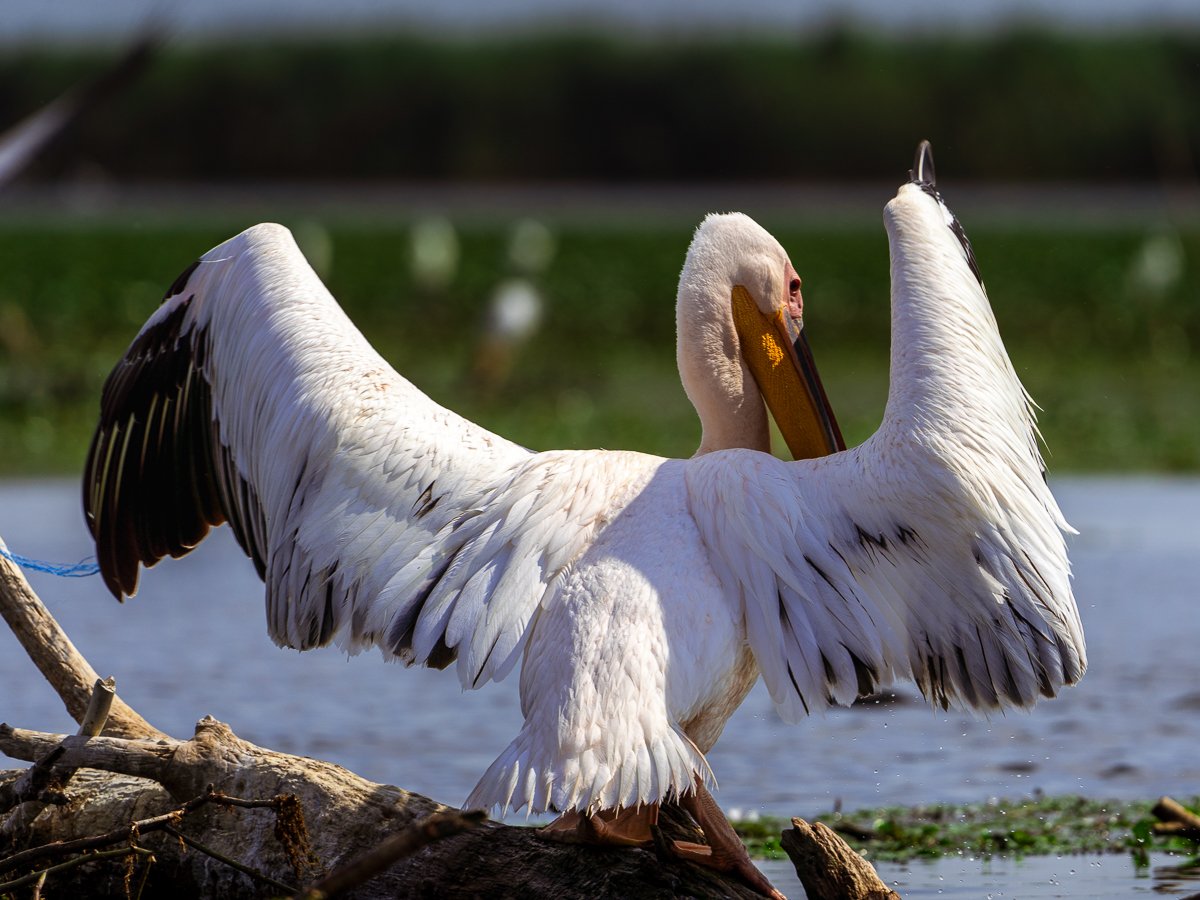
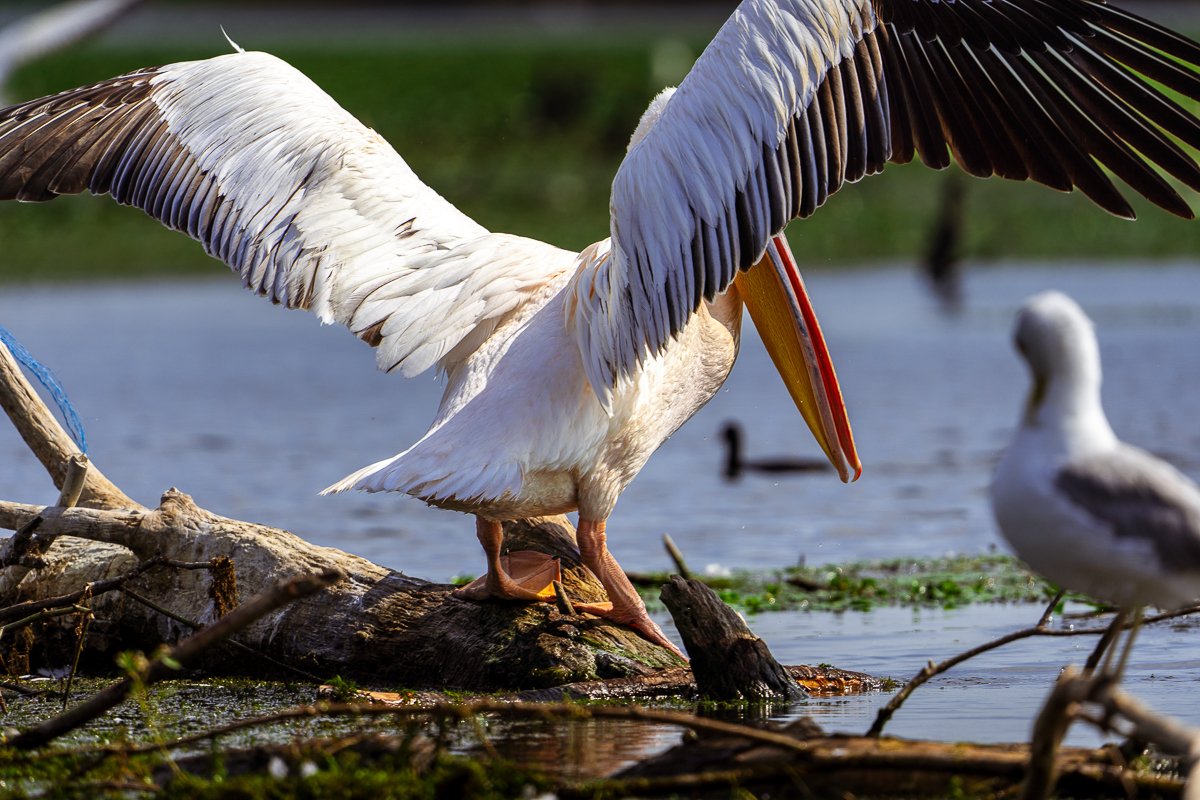
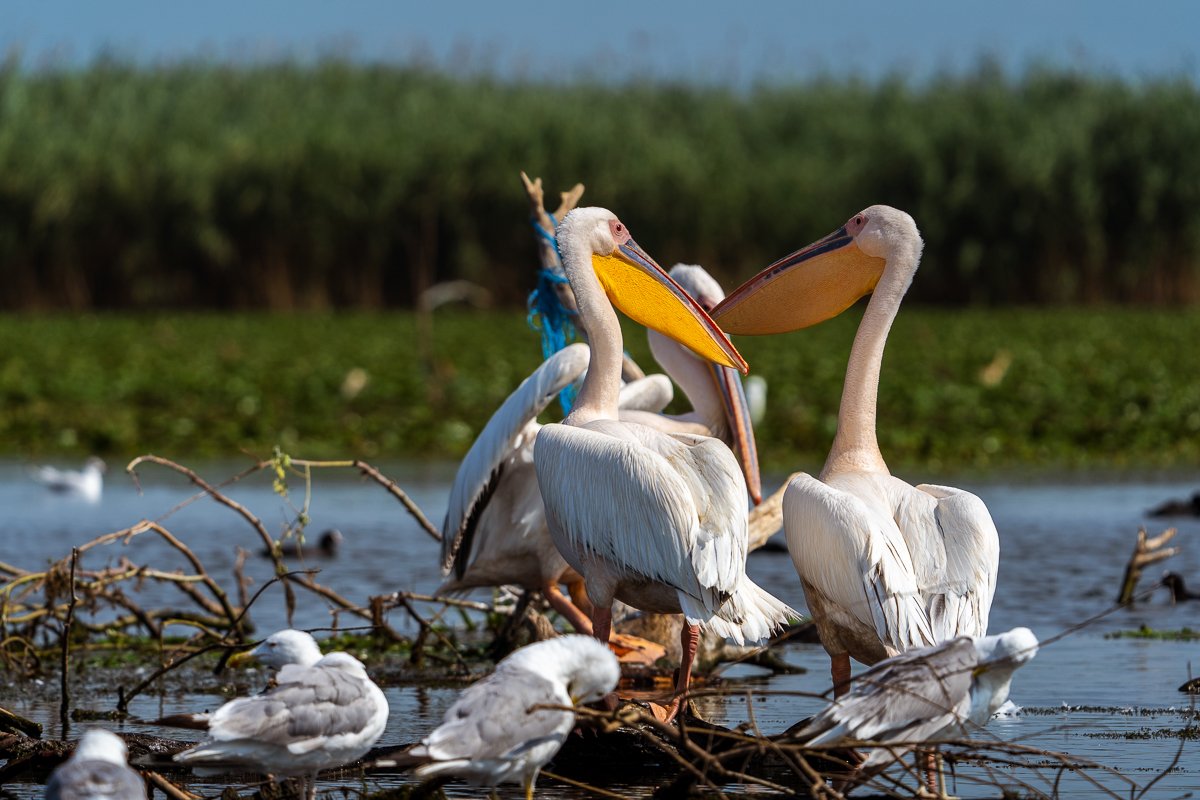
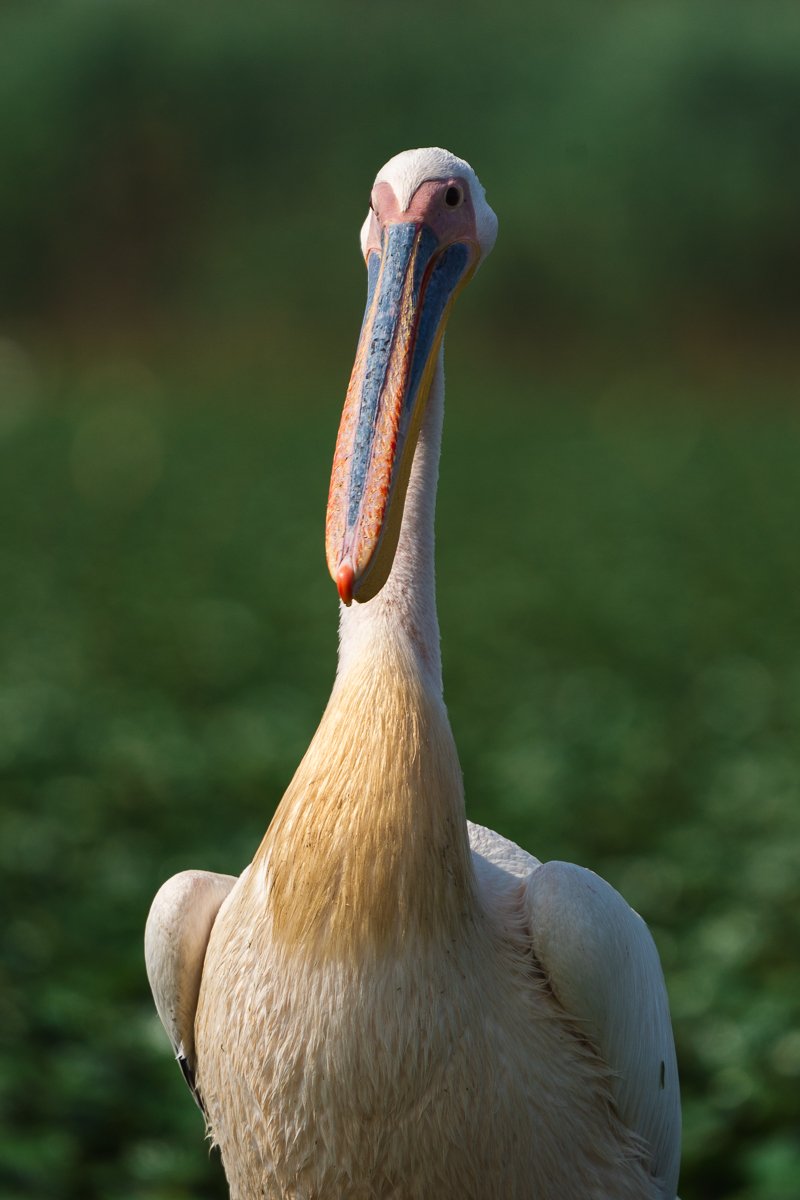
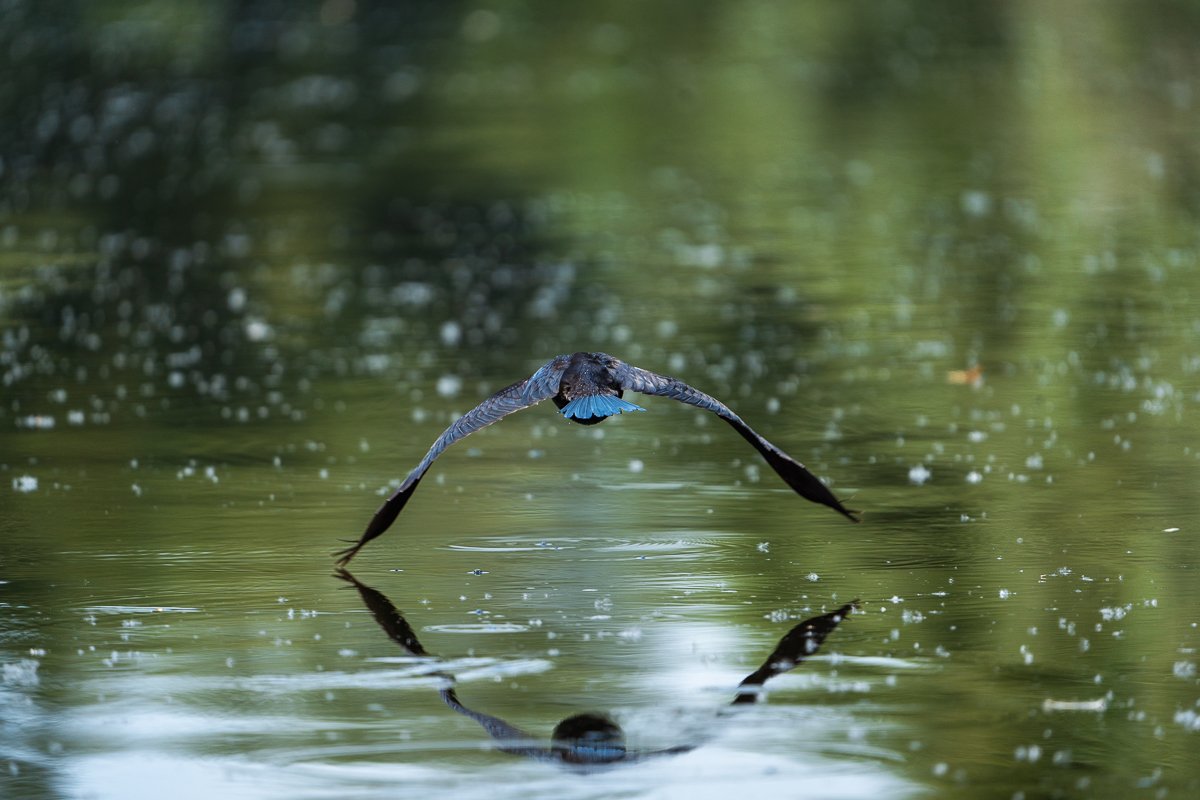
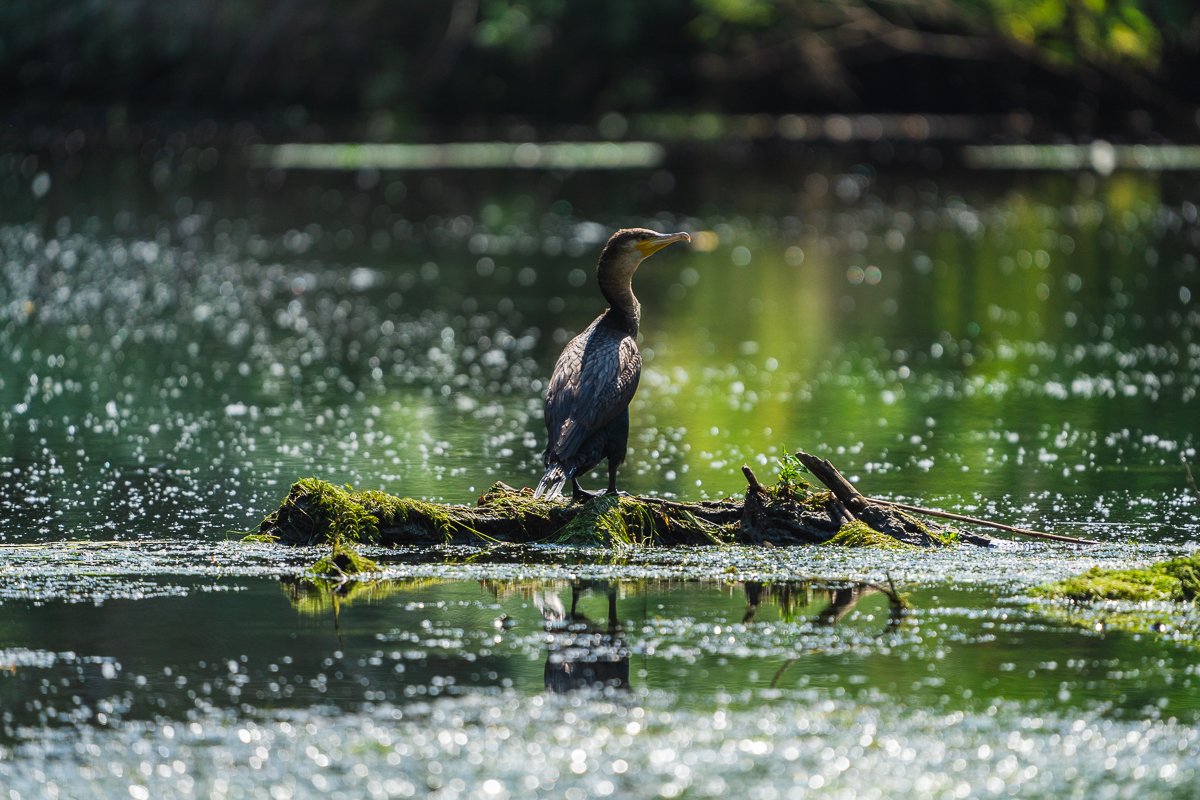
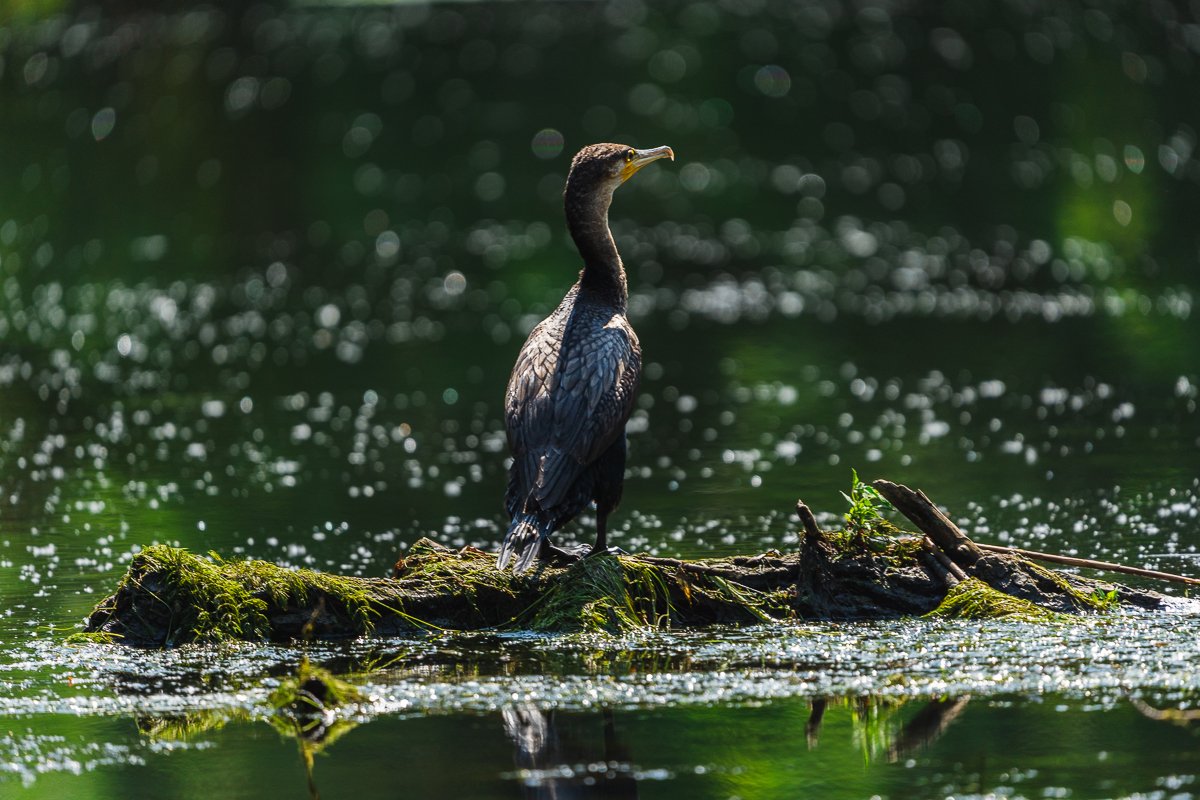
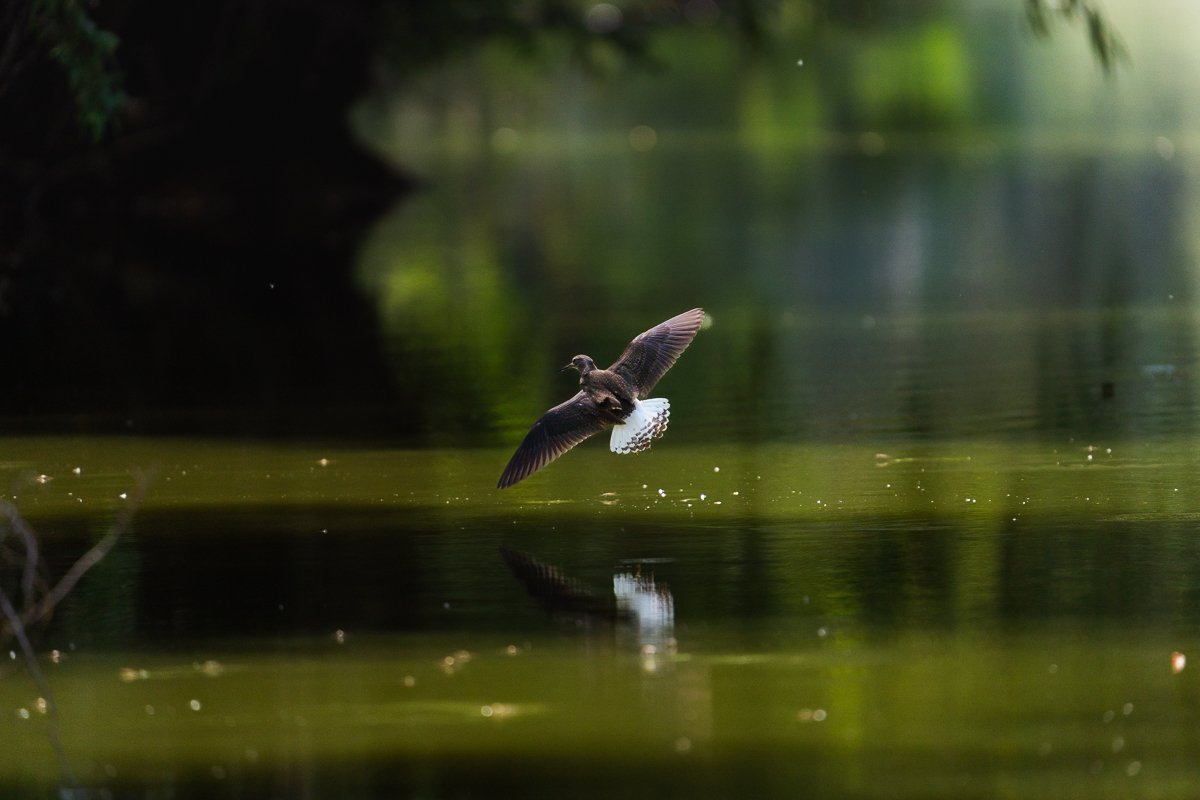
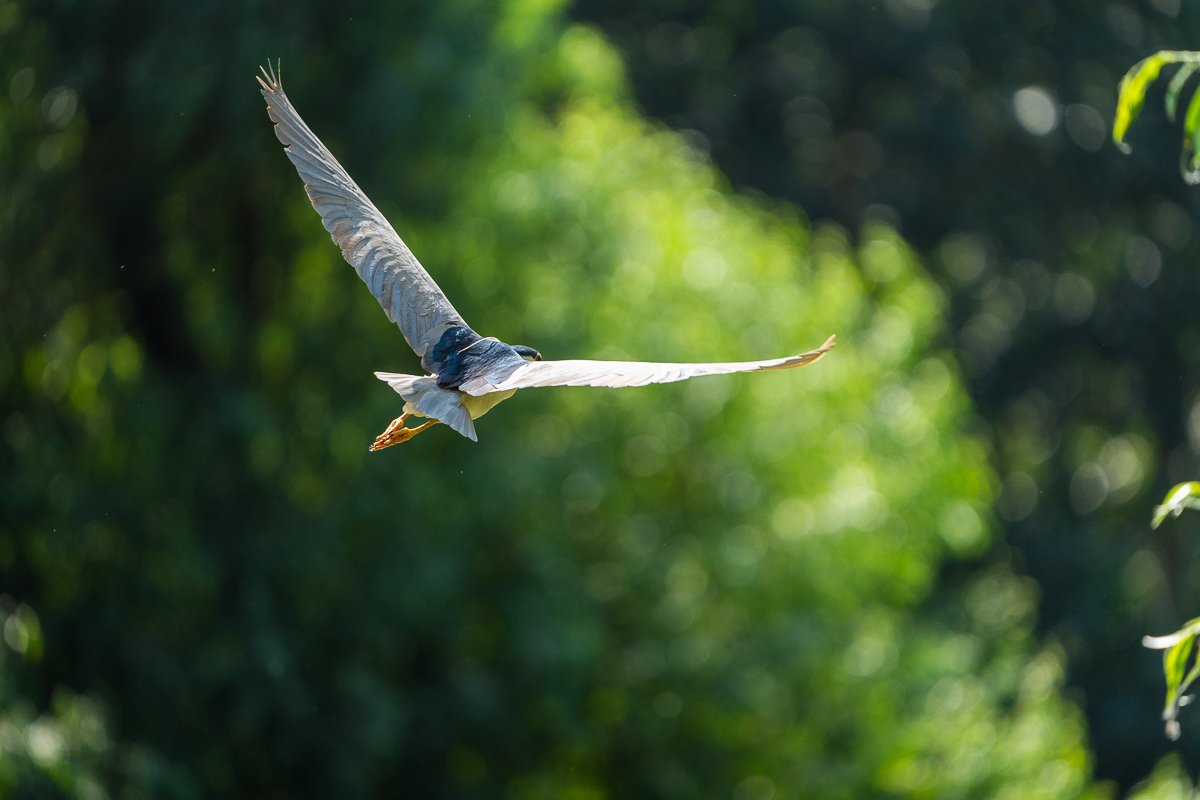
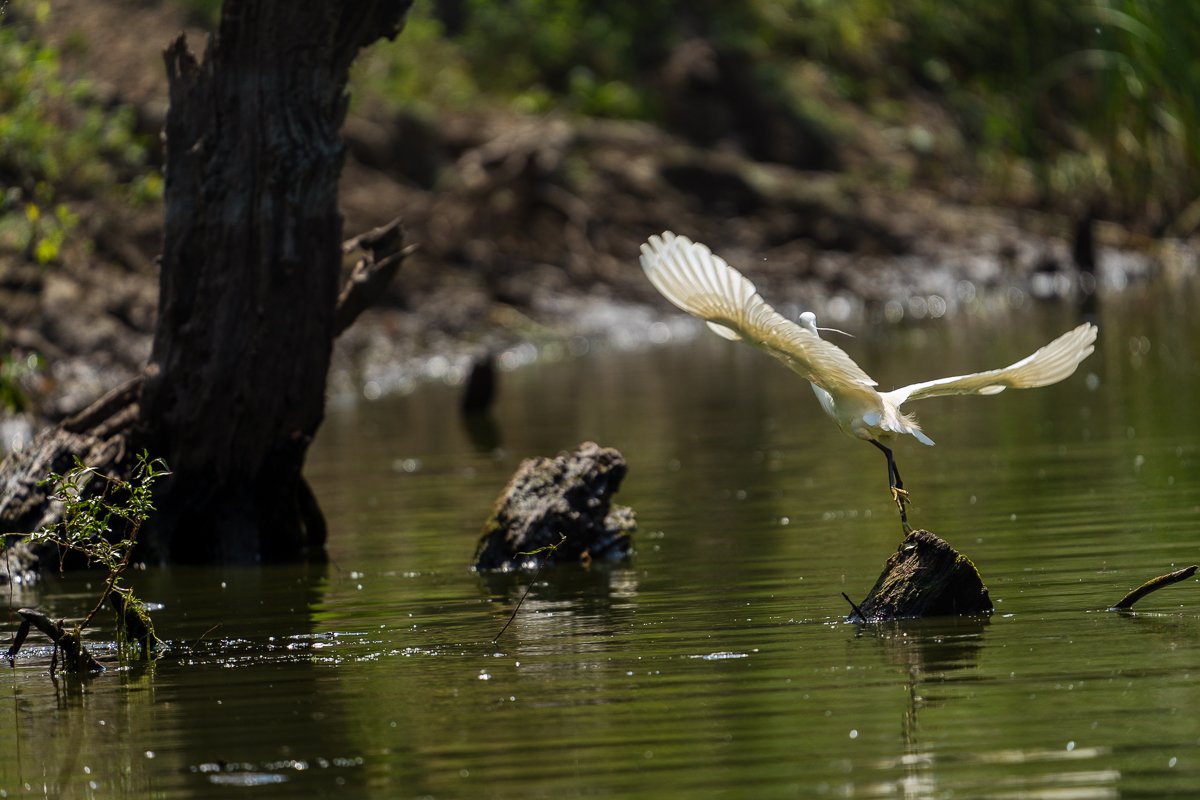
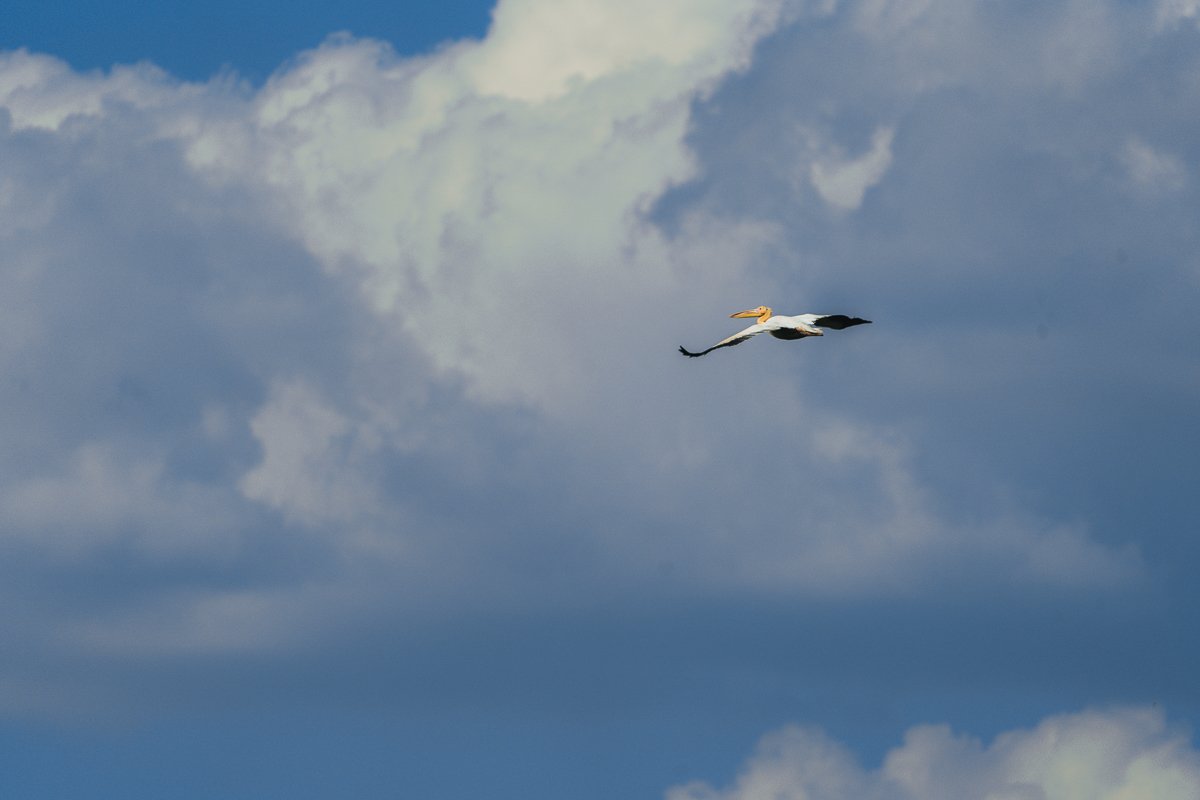
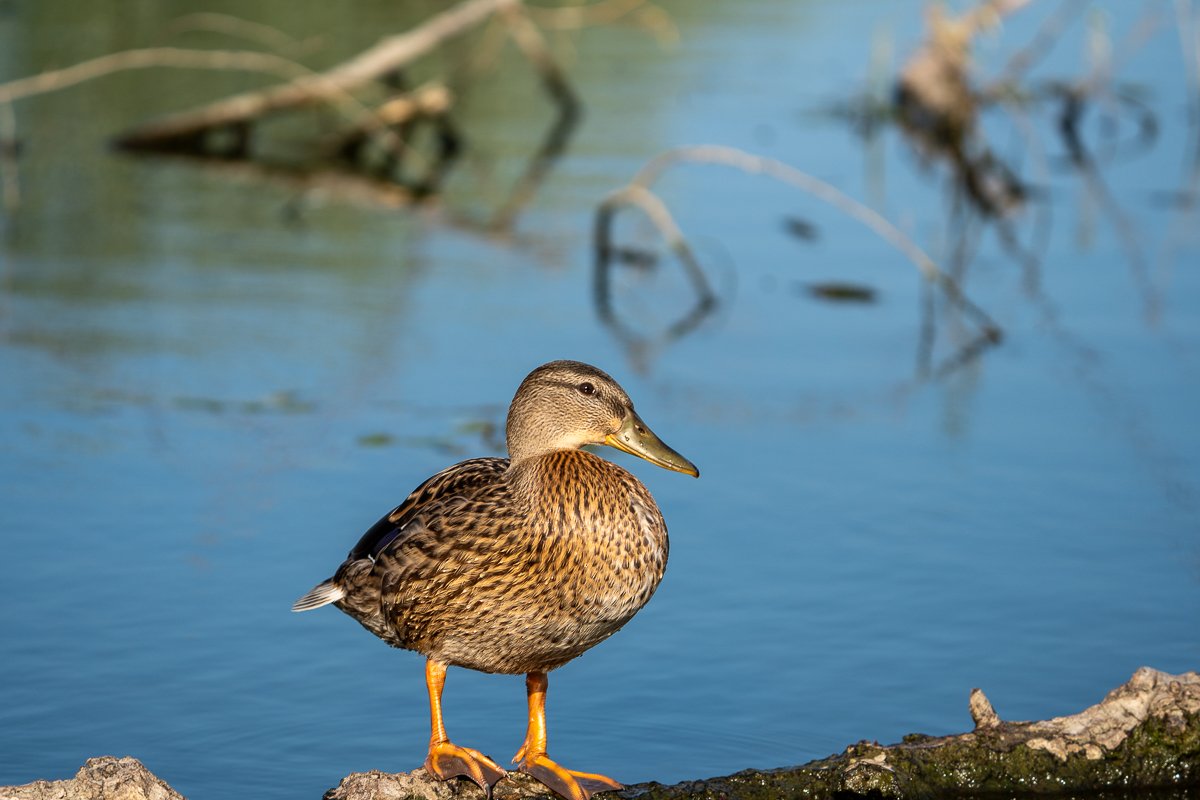
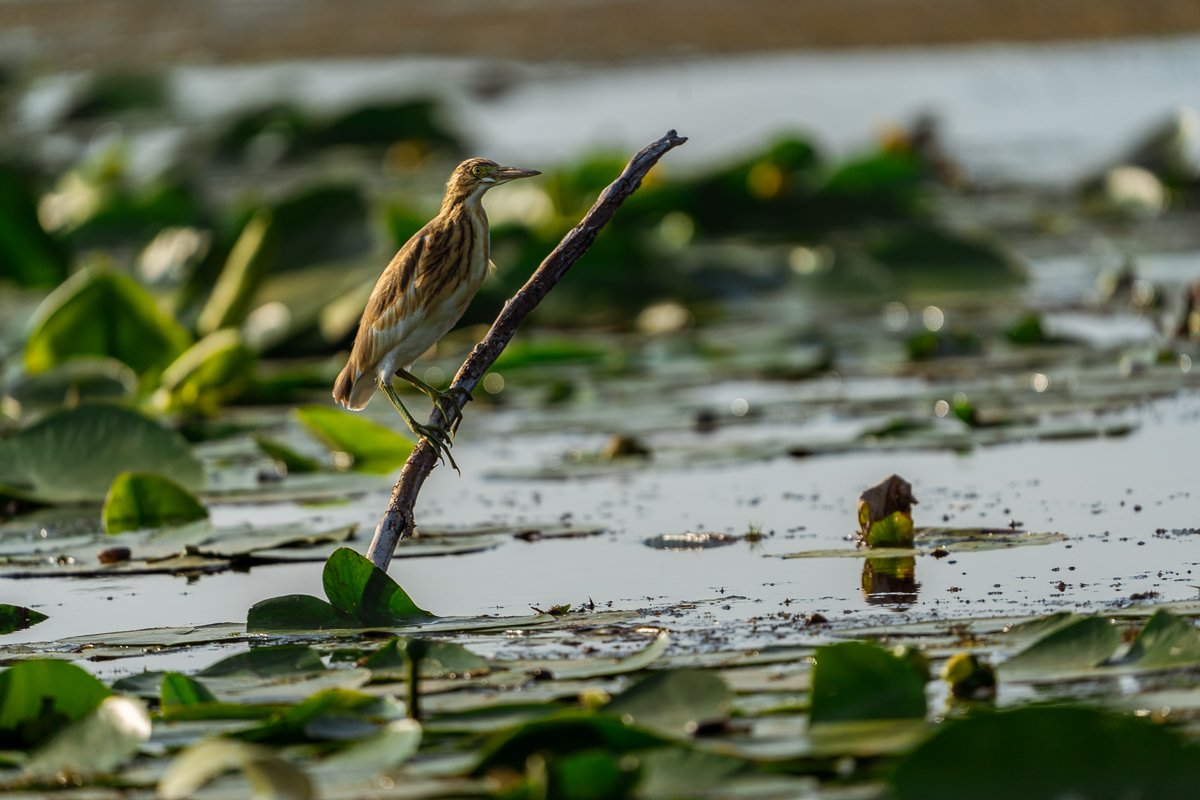
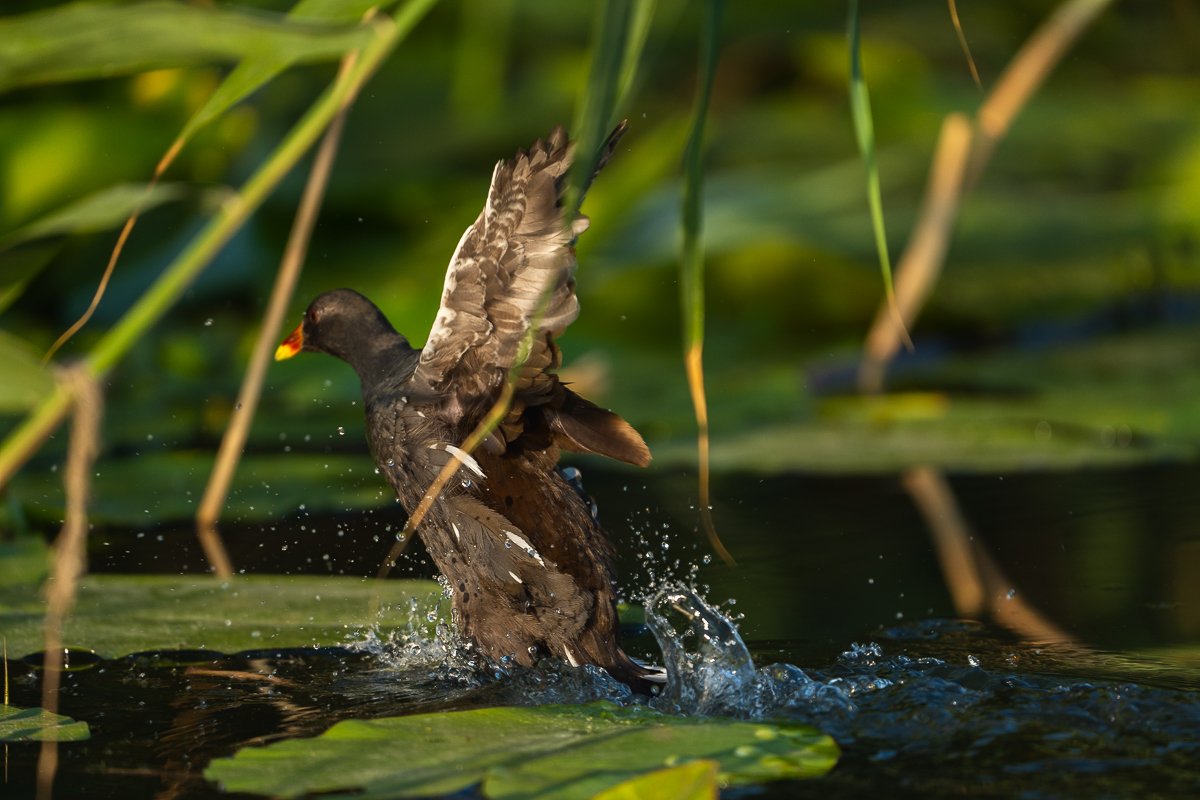
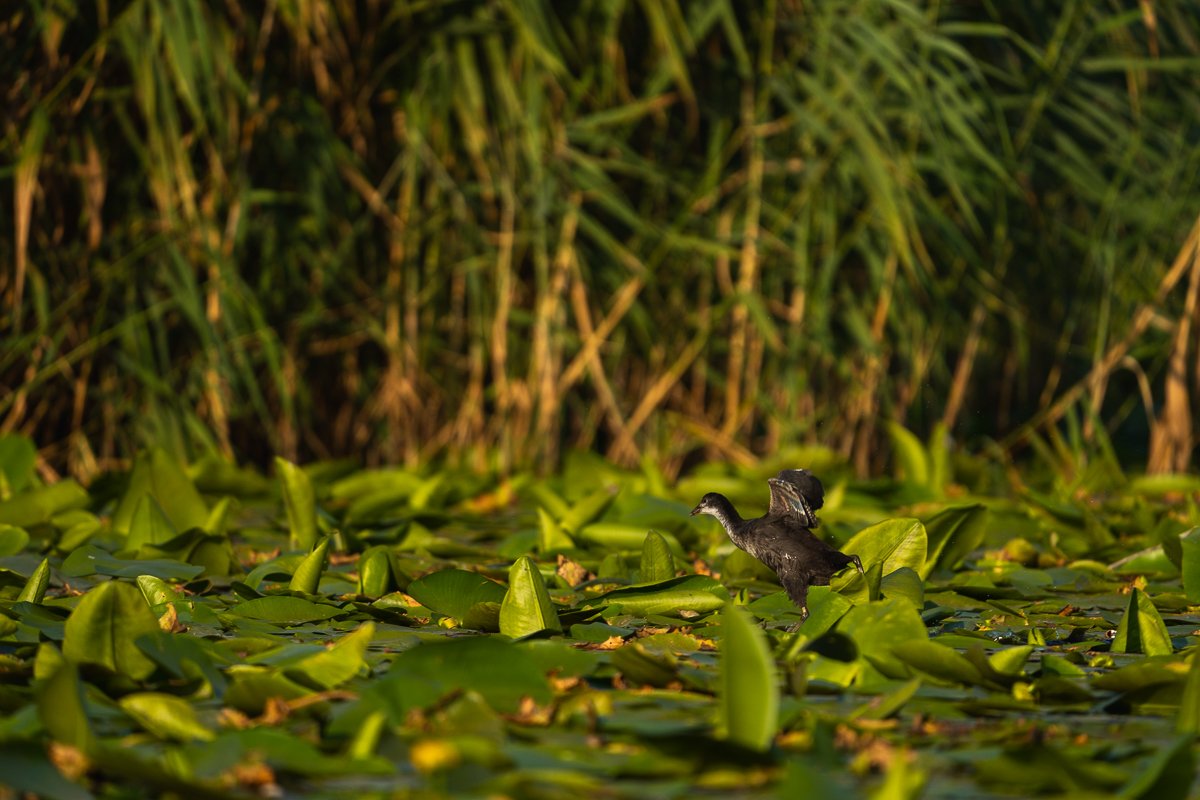
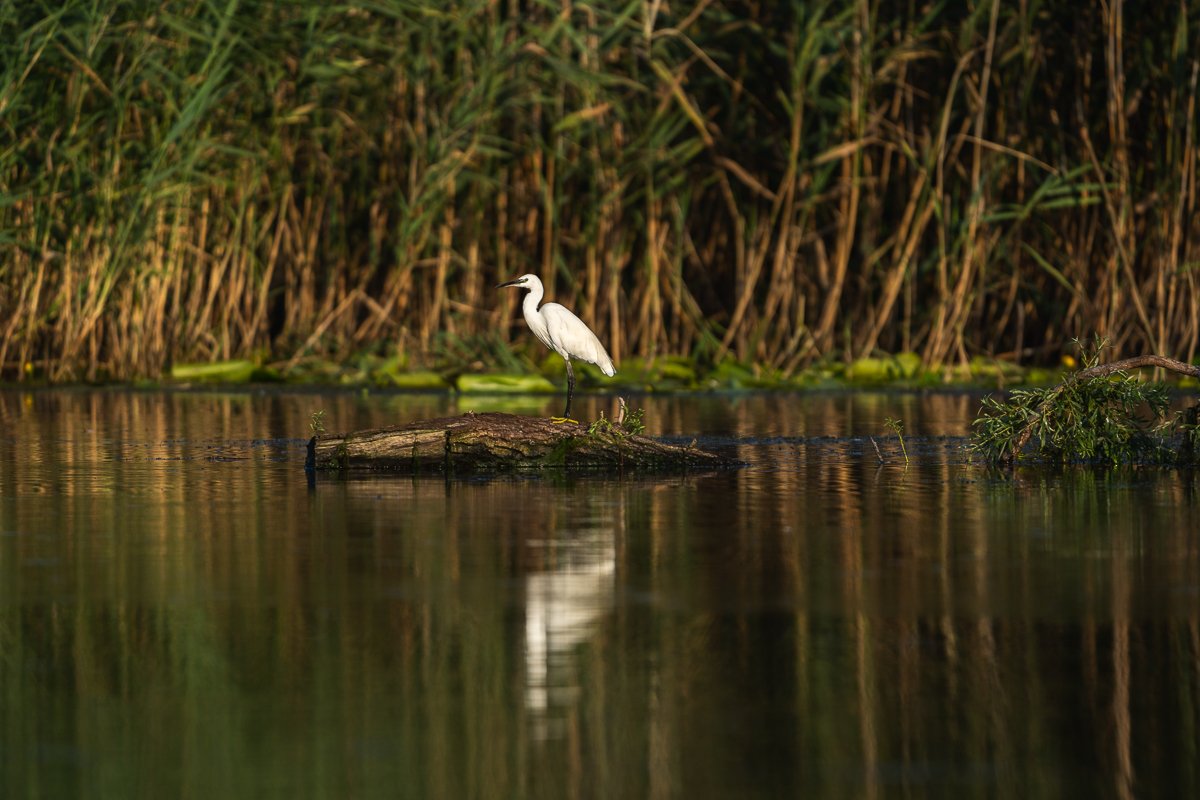
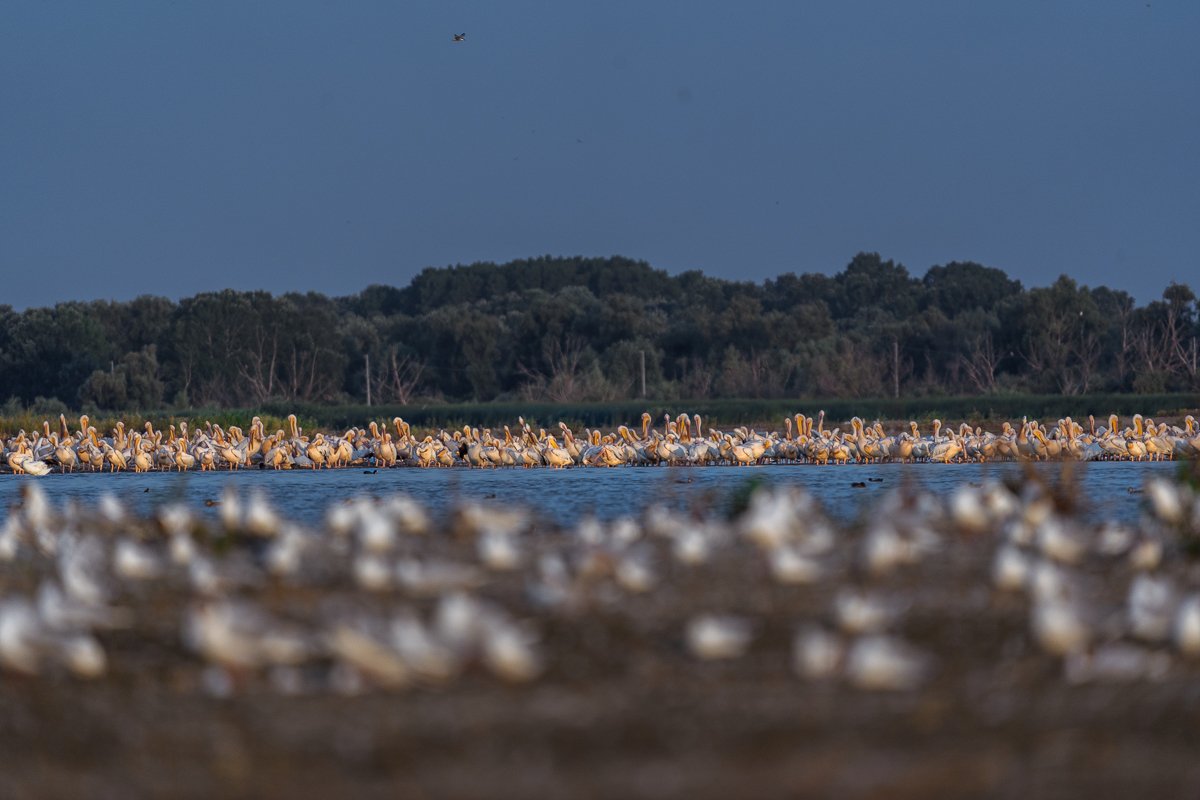
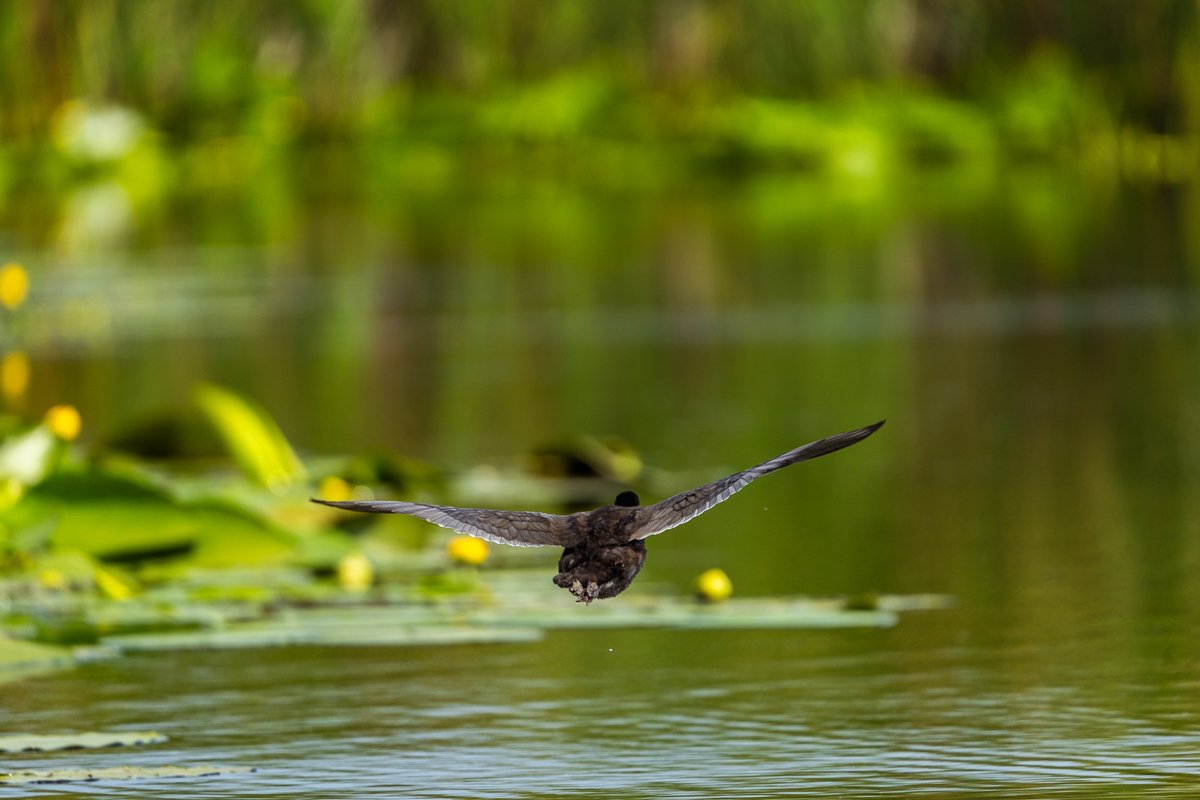
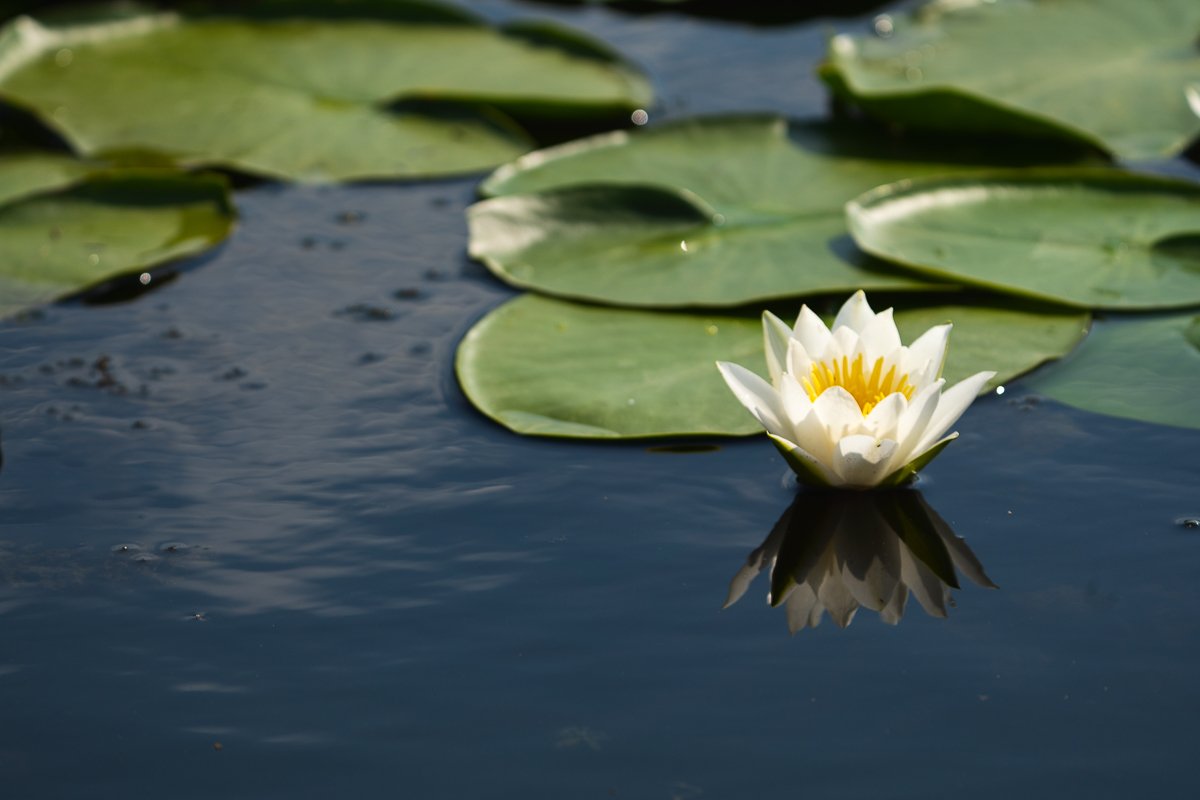
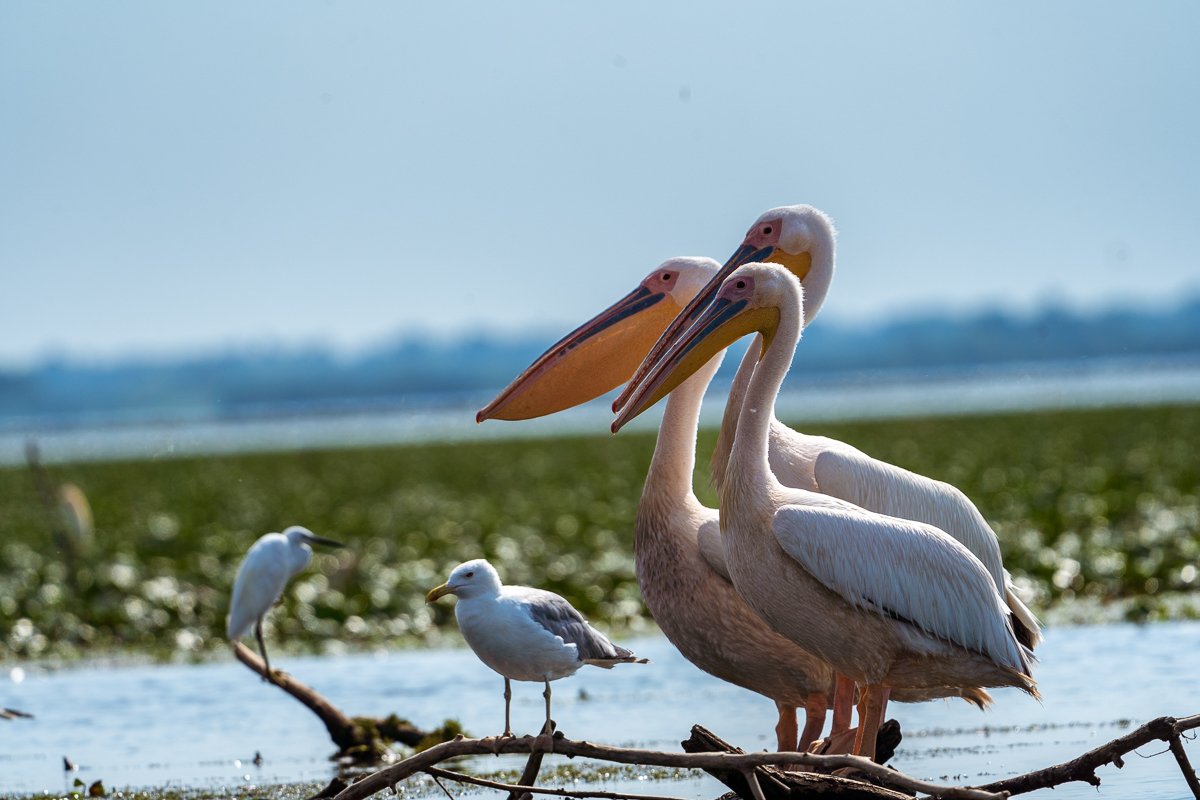
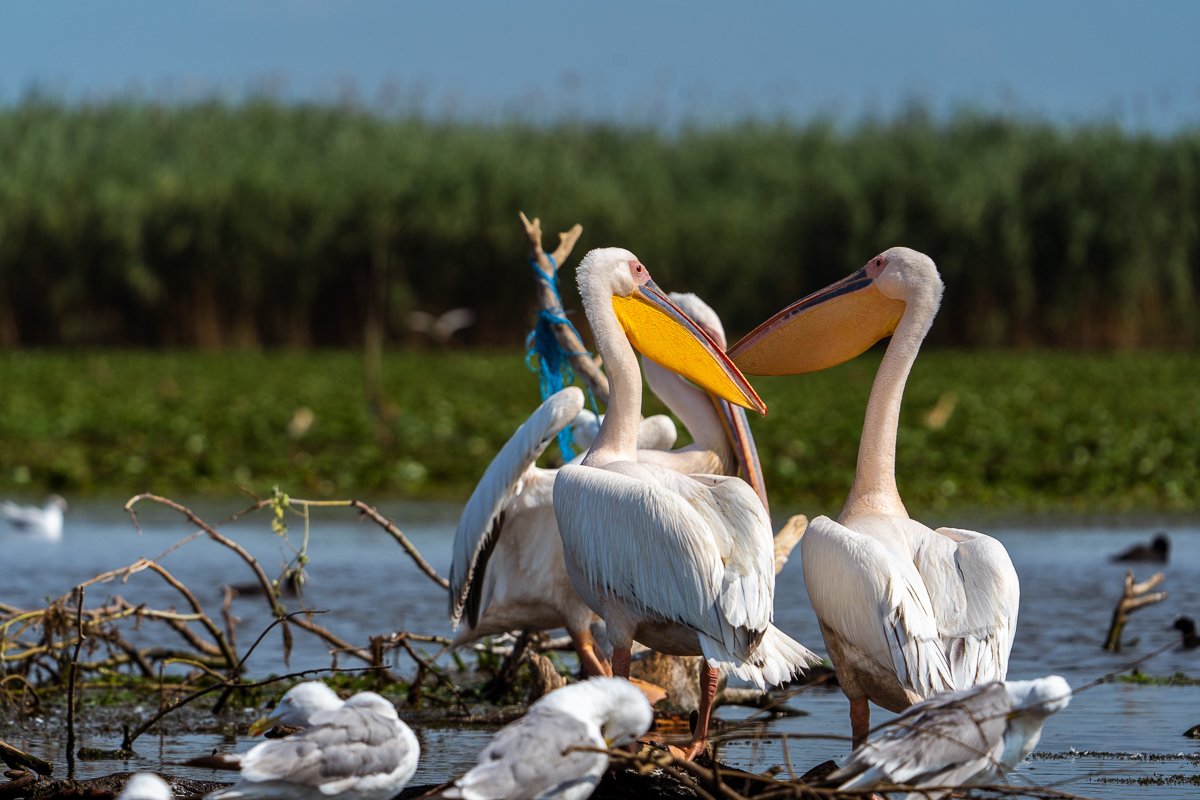
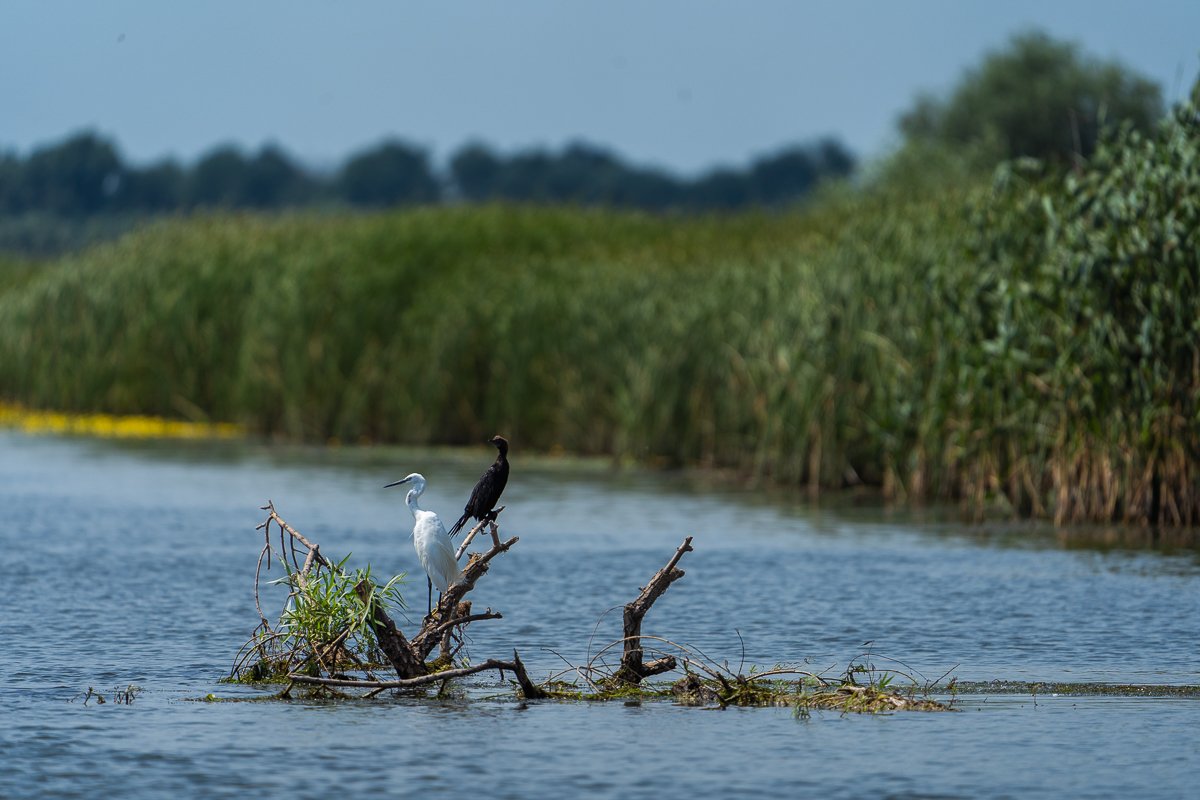
With these tips in mind ,my inaugural bird photography session using the Sony 200-600mm lens was a remarkable journey. The decision to rent this lens was validated by the stunning images I captured. Below, you can view the collection of photos from this adventure. Feel free to share your thoughts in the comments section or any additional tips that have served you well. 💪
Let’s be friends on social media


